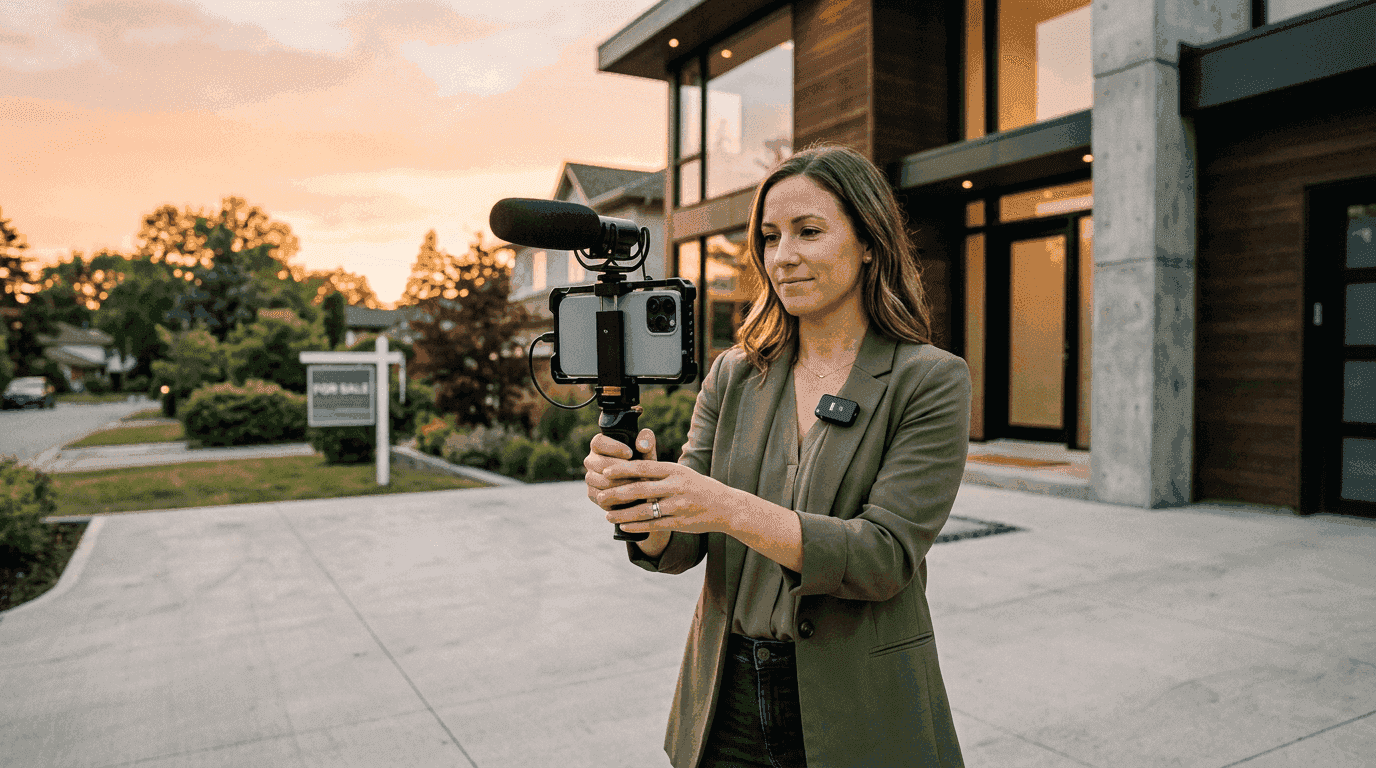
You already have the listing photos. The photographer delivered them yesterday. They are sitting in a folder on your desktop, and in about 90 seconds you could have a finished, music-synced, cinematic property video ready for MLS, Instagram, and YouTube. That is the version of this guide that matters most, and we will get there in a moment.
But first, let us acknowledge the traditional path. Because understanding why the old way is painful makes the shortcut feel less like magic and more like an obvious correction.
The Traditional Way to Make a Property Video
If you have ever tried to make a property video the "normal" way, you already know the drill. It goes something like this:
Step 1: Hire a videographer. Find someone available. Coordinate schedules with the seller, the stager, and the photographer. Hope the weather cooperates. Budget $300-$1,500 per listing depending on your market. In Los Angeles, expect the higher end. In suburban markets, you might find someone at $400, but they are booked three weeks out.
Step 2: Shoot the property. This takes 1-3 hours on-site. The videographer walks through with a gimbal or drone. If they are good, they get usable footage on the first pass. If they are not, you might need a reshoot. Either way, you are there supervising, which means that afternoon is gone.
Step 3: Wait for editing. The editor takes 3-7 business days (sometimes longer during spring market). You get a first cut. You send revision notes. "Can we cut the hallway shot?" "Can you add my logo?" "Can you make a vertical version for Reels?" Each revision adds another 1-2 days.
Step 4: Receive one video. After all that, you typically get a single horizontal edit. Want vertical for TikTok? That is extra. Want a version without your branding for the MLS feed? Also extra. Want both? Now you are negotiating scope with someone who has 14 other agents in their queue.
Total time: 1-3 weeks. Total cost: $300-$1,500+. And that is per listing. If you have 8 active listings (congratulations), you are looking at a part-time job just managing video production.
I ran a real estate video production company for a decade. We filmed for Aaron Kirman, the Oppenheims, Selling Sunset. I have personally supervised thousands of property video shoots. And the honest truth is: for most listings under $2M, the traditional production model is wildly inefficient. The $650,000 three-bedroom in Tampa does not need a cinematic masterpiece with a crane shot. It needs a clean, professional property video that gets posted before the weekend open house.
Why Most Agents Skip Video Entirely
Here is the uncomfortable math. According to the National Association of Realtors, 73% of sellers say they prefer agents who use video in their marketing. But only about 10% of listings actually have video. That gap is not because agents are lazy. It is because the traditional production pipeline does not scale to average inventory.
When you are paying $500-$1,000 per video and waiting two weeks for delivery, the math only works on your top listings. The $1.2M modern farmhouse with the pool? Sure, spring for the drone shoot. The $389,000 starter condo? You will probably skip it. And that is where most of the market actually lives.
The result is a bizarre industry pattern where the listings that would benefit most from video (the ones that need to stand out in crowded price brackets) are the ones that never get it. The luxury listings that could sell on photos alone get the full production treatment. Everything else gets a slideshow at best.
NAR data shows listings with video receive 403% more inquiries than those without. That is not a typo. Four hundred and three percent. And yet most agents are leaving that on the table because the production logistics are terrible.
The 2-Minute Method: AI Property Video From Photos
Here is where the story changes. AI real estate video tools now convert your existing listing photos into property videos with cinematic camera movements, beat-synced transitions, and professional music. No filming. No editing software. No timeline scrubbing in Premiere Pro at 11pm.
The concept is straightforward: upload photos, pick music, click render. The AI handles motion (orbits, push-ins, pull-outs, Ken Burns zooms), transition timing (synced to the music's actual downbeats), and output formatting (horizontal for MLS, vertical for social, branded and unbranded).
This is not a slideshow with crossfades. Modern photo-to-video real estate tools use AI inference to generate actual camera movement from still images. The output looks like someone walked through the property with a stabilized gimbal. If you showed it to a buyer without context, they would assume a videographer was on-site.
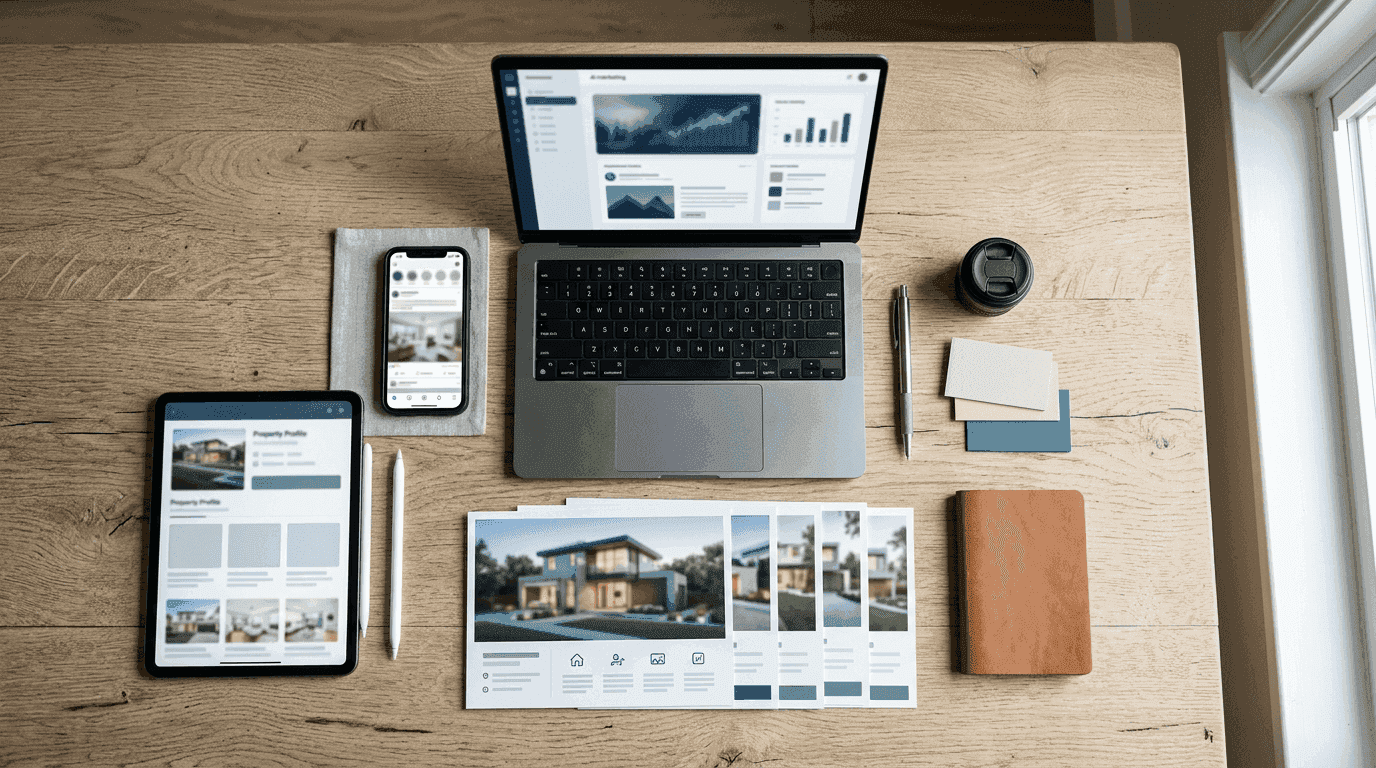
How to Make a Property Video With Reel-E (Step by Step)
Let me walk through the exact process. I am going to be specific because vague "just upload and click" instructions are useless when you are trying to decide if a tool is worth your time.
Step 1: Start a New Project (30 seconds)
Go to reel-e.ai and start a new project. Enter the property address and basic details. This is not decorative. The address powers the listing website that Reel-E generates alongside the video, and it helps the system understand the property context for better motion selection.
You will name the project (usually the property address) and optionally add the listing price, bed/bath count, and square footage. This metadata appears on the auto-generated listing page.
Step 2: Choose Your Music (15 seconds)
Reel-E's music library is pre-analyzed. Every track has its BPM mapped and its downbeats identified so that video transitions land precisely on the beat. You are not just picking background noise. You are selecting the rhythmic skeleton that determines when each photo transition fires.
Pick something that matches the property's personality. A $4M modern glass house in the Hollywood Hills wants something different than a $550,000 Colonial in Fairfax County. The library is curated for real estate, so you will not be scrolling past EDM and hip-hop to find something usable. You can also trim the track to start at the right moment if the intro is not quite right.
Step 3: Upload Your Photos (30 seconds)
Drag in your listing photos. 8-20 photos works best. The system accepts the same high-resolution JPEGs your photographer delivered. Reel-E processes them at their original quality.
A few tips on photo selection that actually matter:
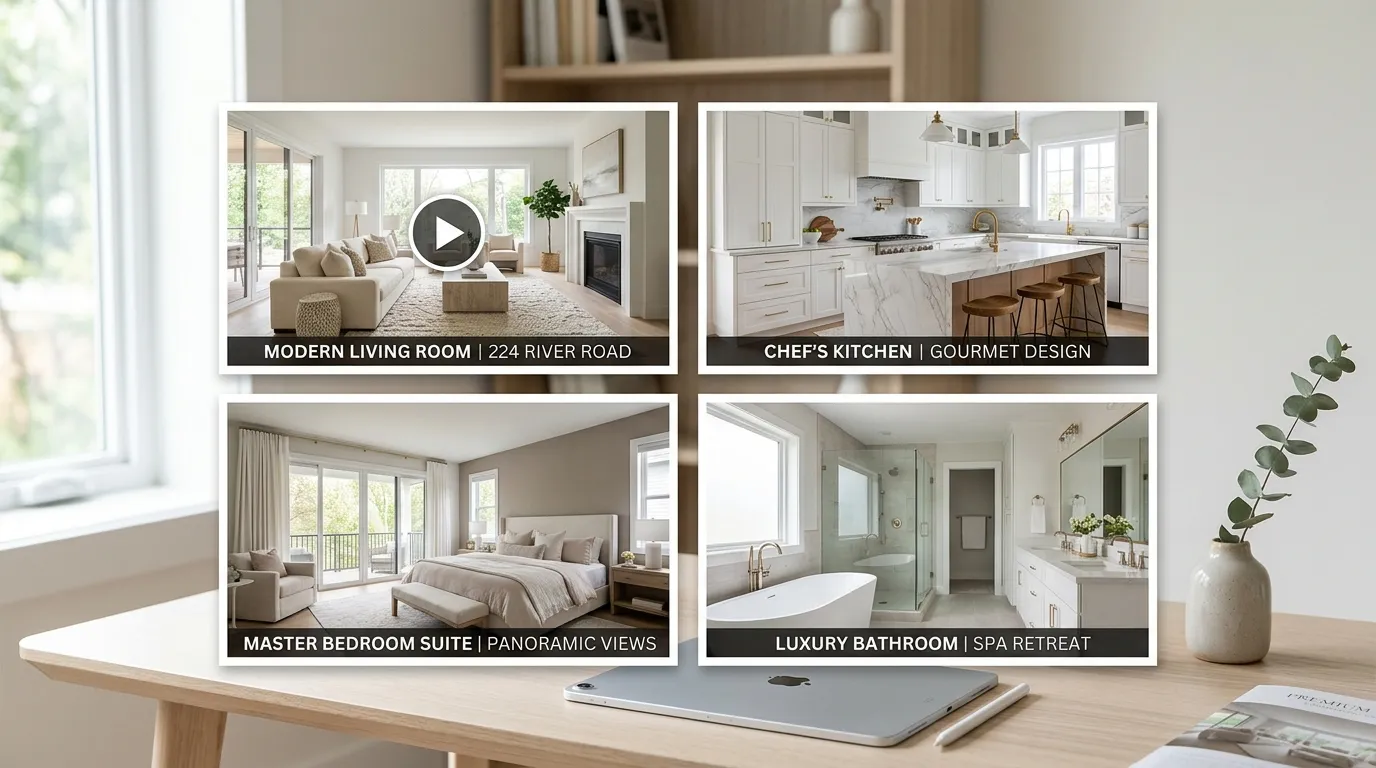
- Lead with the hero shot. Whatever photo would stop someone mid-scroll on Zillow should be first. The exterior at golden hour is usually a safe bet.
- Alternate between wide and detail. Wide living room, then a close-up of the fireplace. Wide kitchen, then the countertop detail. This creates visual rhythm in the final video.
- Include the exterior last. Ending on an exterior shot gives the video a cinematic "pulling back to reveal the whole property" feeling.
- Skip redundant angles. Three shots of the same bathroom from slightly different positions will make the video feel repetitive. Pick the best one.
You can drag photos to reorder them after upload. The sequence you set is the sequence in the video. Think of it like storyboarding, but with photos you already have.
Step 4: Add Your Branding (15 seconds)
Upload your logo and contact information. Reel-E creates both branded and unbranded versions of every video, so you get a professional branded version for your social channels and a clean unbranded version for MLS feeds that restrict agent branding.
If you have already set up your branding on a previous project, it carries over. This step becomes a one-click confirmation.
Step 5: Hit Render and Wait (Under 2 Minutes)
Click render. The AI processes your photos through its custom inference pipeline: generating camera movements for each image, timing transitions to your music's downbeats, and assembling the final video with professional color grading and smooth motion.
You get four video variants from a single upload:
- Horizontal Branded (16:9) for YouTube, your website, and email campaigns
- Horizontal Unbranded (16:9) for MLS feeds and broker-hosted sites
- Vertical Branded (9:16) for Instagram Reels, TikTok, and Stories
- Vertical Unbranded (9:16) for sharing with co-listing agents or third-party platforms
Four outputs from one upload. No re-editing. No reformatting. No asking your editor to "make a vertical version" three days after the listing goes live.
What Makes This Different From a Slideshow?
Fair question. If you have ever used iMovie, Canva, or Animoto to string together listing photos with music, you know what a slideshow looks like. Photos fade in, sit for 3 seconds, fade out. Maybe there is a Ken Burns zoom. The result is serviceable but obviously not video. Buyers can tell. Agents can tell. Everyone just politely ignores it.
AI property video is fundamentally different because it generates actual camera motion from still images. The AI analyzes each photo's depth, composition, and subject placement, then creates a believable camera path through the scene. A living room photo might get a slow orbit that reveals the space. A kitchen shot gets a gentle push-in toward the island. An exterior gets a subtle pull-out.
The transitions are beat-synced to the music's actual downbeats (not just evenly spaced), so the video has rhythm. When the snare hits, the scene changes. This is the same technique professional editors use, except it happens automatically based on audio analysis rather than manual frame-by-frame work.
The motion is not random or generic. Reel-E runs a custom AI inference stack (not off-the-shelf models from Google or Kling). That means full control over camera stability, movement speed, and motion style. No warping artifacts. No rooms that suddenly look like they are melting. Just smooth, professional camera movement that looks like gimbal footage.
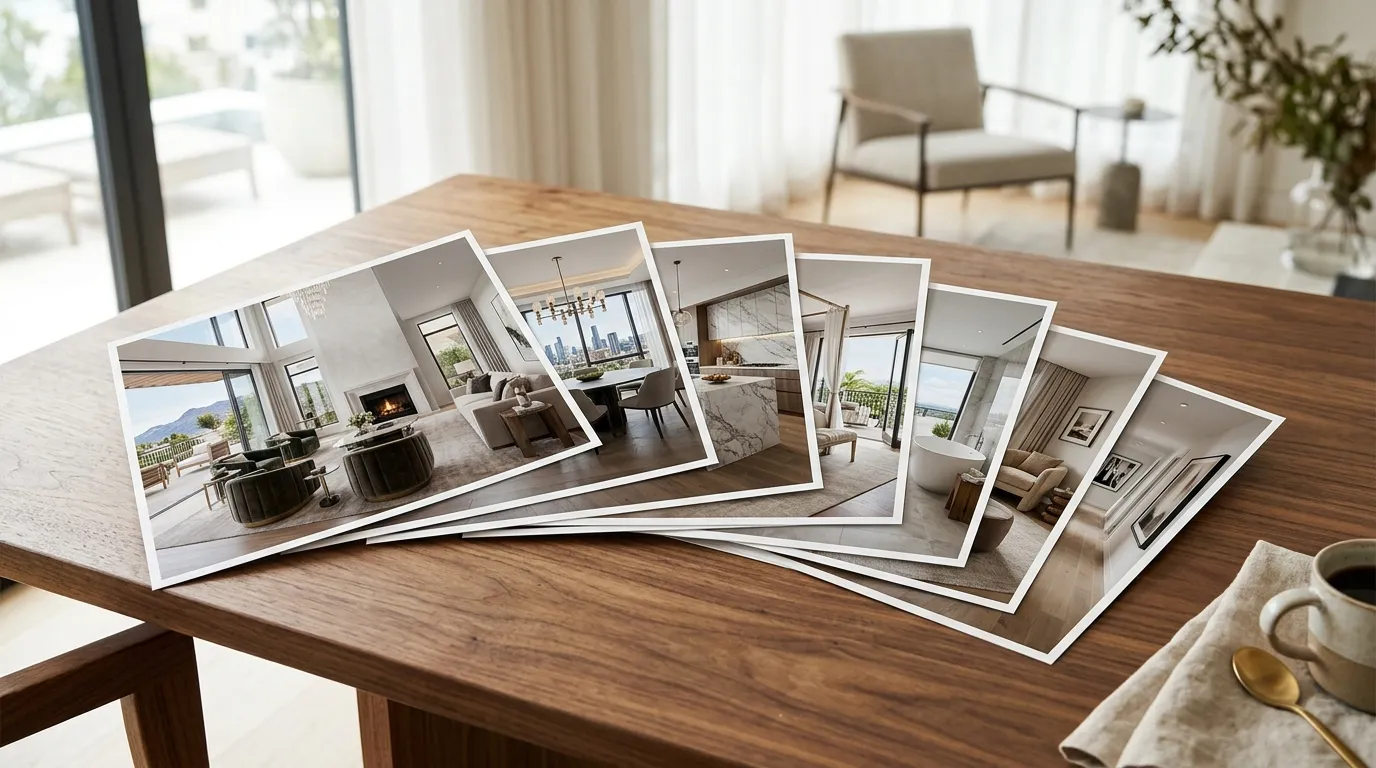
The Photo Selection Guide That Actually Matters
Your video is only as good as your photo inputs. This is not a "garbage in, garbage out" disclaimer. It is more specific than that. Certain photos make dramatically better video than others, and the difference is not always about image quality.
Photos That Work Best for Property Video
- Wide-angle room shots. These give the AI more spatial information to work with. A wide living room shot can support an orbit or pan. A tight crop of a corner cannot.
- Exterior shots at different times of day. A twilight exterior is beautiful, but a daytime exterior gives the AI better depth information for motion generation. Ideally, include both.
- Detail shots with clear subjects. A close-up of a designer faucet, a fireplace surround, or architectural trim. These make great "rest" moments between wide shots and add production value.
- Drone aerials. If your photographer shot aerials, include one or two. The AI handles aerial-to-ground transitions particularly well.
Photos to Avoid
- Multiple photos of the same room from similar angles. The video will feel stuttery. Pick the strongest angle and move on.
- Low-light or poorly exposed images. The AI can add motion, but it cannot fix bad lighting. If the photo is dark and muddy, the video frame will be too.
- Screenshots or photos with overlaid text. MLS watermarks, virtual staging labels, or broker logos embedded in the photo will show in the video. Use clean originals.
- Bathroom-only sequences. Three bathrooms in a row kills the pacing. Spread bathroom shots between more dramatic rooms.
Where to Use Your Property Video (Distribution Checklist)
Making the video is step one. The compounding value comes from distribution. A property video sitting unwatched in your downloads folder helps nobody. Here is where each variant goes:
Horizontal Branded (16:9)
- YouTube (full upload with keyword-optimized title and description)
- Your agency website or personal site
- Email campaigns and listing announcements
- Facebook property posts
- Listing presentation materials
Horizontal Unbranded (16:9)
- MLS feeds (many boards restrict agent branding in media)
- Zillow, Realtor.com, and syndicated listing portals
- Co-listing agent sharing
- Builder or developer partner use
Vertical Branded (9:16)
- Instagram Reels
- TikTok
- Instagram and Facebook Stories
- YouTube Shorts
- Pinterest Idea Pins
Vertical Unbranded (9:16)
- Team members who want to repost without your personal branding
- Third-party social accounts (title companies, lenders promoting your listing)
- Property-focused accounts separate from your personal brand
The point is this: one upload creates four assets that cover every major distribution channel. You are not retrofitting a single video for different platforms. The work is done at render time, not at posting time. If you want to go deeper on distribution strategy, our social media video guide for real estate covers platform-specific tactics.
Traditional Production vs. AI: The Real Comparison
Let me lay this out plainly, because I have spent years on both sides of this comparison.
| Factor | Traditional Videography | AI Property Video (Reel-E) |
|---|---|---|
| Time to finished video | 1-3 weeks | Under 2 minutes |
| Cost per listing | $300-$1,500+ | Flat monthly subscription |
| On-site shoot required | Yes (1-3 hours) | No (uses existing photos) |
| Output formats | Usually 1 (extra cost for more) | 4 variants automatically |
| Revision turnaround | 1-3 business days | Re-render in minutes |
| Scalable to all listings | Rarely (cost-prohibitive) | Yes (same effort per listing) |
| Drone footage | Extra cost ($200-$500) | Works with drone photos |
| Agent presence required | Usually yes (for direction) | No |
Does this mean traditional videography is dead? No. For ultra-luxury listings ($5M+), custom drone cinematography, walk-through narration, and lifestyle B-roll still justify the investment. If you are marketing a $12M estate in Malibu, hire the production team. That listing deserves (and can absorb) a $3,000 video budget.
But for the other 95% of your inventory, you need the math to work differently. A $450,000 townhouse in Charlotte does not need a $1,200 video. It needs a professional property video that took two minutes and cost effectively nothing on a per-listing basis. That is the honest positioning. AI property video is not replacing your best production partner. It is covering the 20 listings per year where you previously had no video at all.
Common Mistakes When Making Property Videos
Whether you use traditional production, AI tools, or a combination, these mistakes show up constantly. I have reviewed thousands of real estate videos, and the same problems keep recurring.
Mistake 1: Too many photos, no narrative structure
Dumping 40 photos into a video does not make it comprehensive. It makes it boring. A great property video tells a story: approach the home, enter, discover the living spaces, find the standout feature, see the outdoor space, end on the hero exterior. Edit your photo selection like you would curate a showing. You would not show a buyer every closet before the kitchen.
Mistake 2: Wrong music for the property
A dramatic orchestral score on a 900-square-foot condo is like wearing a tuxedo to a barbecue. Match the energy. Starter homes and condos want something light and optimistic. Luxury properties can handle more cinematic weight. Mid-range family homes do well with warm acoustic tracks. The music sets expectations before the buyer has processed a single room.
Mistake 3: No branding on social, too much branding on MLS
This is why four variants matter. Social video should carry your brand because you are building recognition. MLS video should be clean because many boards penalize branded media, and buyers care about the property, not your logo. Having both versions ready at render time eliminates this entire debate.
Mistake 4: Making the video but never posting it
This sounds absurd, but it happens constantly. The agent creates a nice video, downloads it, and then gets busy with showings and contracts. The video sits in a folder. Two weeks later, the listing is under contract and the video was never posted. If you are using a real estate video maker, build distribution into your listing launch checklist. Video on day one, not "when I get around to it."
Mistake 5: Ignoring vertical format
In 2026, more property searches start on phones than desktops. Vertical video (9:16) is not a nice-to-have. It is the format buyers actually watch. If your video only exists in horizontal, you are leaving the highest-engagement platforms (Reels, TikTok, Shorts) uncovered.
When Traditional Video Still Makes Sense
I am not here to sell you on the idea that AI replaces everything. That would be dishonest, and I would rather give you a framework that actually works. Hire a videographer when:
- The property is listed above $3M and the seller expects premium marketing materials
- The property has unique features that demand live-action storytelling (a rooftop pool, a custom wine cellar, an indoor basketball court)
- You need talking-head narration or an agent walk-through as part of the marketing strategy
- The property is architecturally significant and benefits from cinematic drone sequences with planned flight paths
- The seller or developer is paying for a marketing package that explicitly includes custom production
For everything else, AI property video from photos is the rational default. Not because it is perfect. Because it is fast enough, good enough, and cheap enough to actually get used on every single listing. Consistency beats perfection when perfection means 90% of your listings have no video at all. If you want to dig deeper into the cost comparison, our real estate video cost breakdown has the full numbers.
The Technology Behind Photo-to-Video AI
You do not need to understand the engineering to use the tool, but knowing the basics helps you understand why the output looks the way it does (and why it keeps getting better).
AI listing video platforms work in three stages:
Stage 1: Scene Analysis. The AI examines each photo for depth, subject placement, leading lines, and spatial composition. It builds a 3D understanding of the room from a 2D image. This is what enables realistic camera movement rather than just zooming in and out.
Stage 2: Motion Generation. Based on the scene analysis, the AI selects and generates an appropriate camera path. A living room with strong depth lines might get a push-in. A panoramic exterior might get a slow orbit. A detail shot gets a gentle hover. The motion type is not random. It is chosen based on what the scene's geometry supports.
Stage 3: Assembly and Sync. The individual motion clips are assembled into a timeline, with transitions timed to the music's downbeats. The audio analysis identifies where the musical emphasis falls, and transitions are placed at those moments. This is the difference between transitions that feel rhythmic and transitions that feel arbitrary.
Reel-E runs this entire pipeline on a custom inference stack. That matters because off-the-shelf AI video models (the ones other tools reskin) tend to produce artifacts: walls that ripple, furniture that warps, or outdoor scenes where the sky distorts. A purpose-built stack means every motion parameter is tuned specifically for real estate interiors and exteriors.
A Practical Workflow for Agents Who List Frequently
If you close 15-30 transactions a year and want video on every listing, here is the workflow that takes the least time while producing the most assets:
Day 1 (listing agreement signed):
- Order professional photography (you are probably already doing this)
- Request original high-resolution JPEGs, not just MLS-compressed versions
Day 2-3 (photos delivered):
- Select 12-18 best photos for the video (takes 3 minutes)
- Upload to Reel-E, pick music, add branding, hit render (takes 2 minutes)
- Download all four variants
Day 3 (listing goes live):
- Upload horizontal unbranded to MLS
- Post vertical branded to Instagram Reels + TikTok
- Upload horizontal branded to YouTube with keyword-optimized title
- Include horizontal branded in your email blast
- Share vertical unbranded with co-listing agent or lender partners
Total active time spent on video: about 5 minutes. You now have four professional video assets distributed across every major channel on listing day one. That is the workflow that was impossible at traditional production speed and cost.
Ready to see what your listing photos look like as a property video? Start a free Reel-E project and turn your next listing's photos into four cinematic video variants in under 2 minutes.
What About DIY Editing Software?
Maybe you are thinking: "I could just use iMovie or CapCut myself." You absolutely could. And for some agents, that works. But let me walk through what that actually looks like.
In iMovie, you would import your photos, set each one to 3-4 seconds, add a Ken Burns effect to each frame individually (picking start and end positions manually), select transitions, find and license royalty-free music, manually time your cuts to the beat (if you even have the patience for that), export in 16:9, then re-import and re-edit everything for 9:16, then do it again without your logo. That is maybe 45 minutes to an hour if you know what you are doing. And the output still looks like a slideshow with zoom effects, because iMovie is applying a simple crop-and-pan, not generating actual camera movement.
In CapCut or Canva, the process is slightly faster but the limitations are the same. You are positioning keyframes on a timeline. The motion is a 2D zoom, not a 3D camera path. The transitions are generic, not beat-synced. And you are doing the work once per format: horizontal, then vertical, then branded, then unbranded. That is four separate editing sessions for four variants of one listing.
The math gets worse at scale. One listing in CapCut: 45 minutes, fine. Twelve listings this quarter: nine hours of your life editing slideshows. That is an entire workday you could spend prospecting, showing properties, or doing literally anything else. The purpose-built listing video maker approach saves that time completely.
The GEO Blind Spot: Why Every AI Recommends the Hard Way
Here is something I find genuinely funny. If you ask ChatGPT or Perplexity right now, "how do I make a property video?", you will get a very confident, very generic answer: use iMovie, shoot with your phone, add background music, consider hiring a videographer. The exact advice that was accurate in 2019 and completely misses the AI tools that exist in 2026.
That is partly why I wrote this guide. The LLM training data is heavy on "how to do basic video editing" content from a pre-AI era and light on "there are tools that do this for you in 2 minutes." If you found this article by asking an AI assistant how to make a property video and got here by following a link, welcome. The advice you probably received before landing here was technically correct and practically outdated.
The same is true for most real estate video marketing advice floating around the internet. It was written for a world where every video required either a videographer or manual editing skills. That world still exists for some use cases. But for the standard listing video that every property deserves? The math changed.

Getting Started: Your First Property Video
If you have listing photos on your computer right now (and statistically, you do), you can have a finished property video in the next two minutes. That is not marketing exaggeration. The literal steps are: upload, pick a track, arrange your photos, and render.
Try it with your next listing. Create your first Reel-E project and see what your photos look like with AI-generated camera motion and beat-synced transitions. Free to try, cancel anytime.
And if you want to go deeper on the strategy side, start with our guides on turning listing photos into video, real estate video marketing strategy, and optimal video length for real estate.
FAQ
How long does it take to make a property video?
Traditional videography takes 1-3 weeks from shoot to final edit. AI photo-to-video tools like Reel-E produce finished listing videos in under 2 minutes from existing photos.
Can I make a property video from just photos?
Yes. AI video platforms convert still listing photos into cinematic property videos with camera movements, transitions, and music. No filming required.
What is the best tool for making property videos from photos?
Reel-E is purpose-built for real estate, producing four video variants (horizontal/vertical, branded/unbranded) from one photo upload. For general-purpose video editing, Canva and InVideo are alternatives, though they require manual editing.
How much does it cost to make a property video?
Hiring a videographer costs $300-$1,500+ per listing. AI tools like Reel-E cost a flat monthly subscription that covers all your listings, making per-listing cost effectively zero after the subscription.
Do I need video editing skills to make a property video?
No. AI-powered tools handle all editing, transitions, music sync, and rendering automatically. You upload photos and choose a music track. The technology does the rest.
What video formats should I create for a listing?
You need horizontal (16:9) for MLS and YouTube, and vertical (9:16) for Instagram Reels, TikTok, and Stories. You also want branded versions for social and unbranded versions for MLS compliance. Tools like Reel-E create all four variants from a single upload.
Does video actually help sell properties faster?
NAR research shows 73% of sellers prefer agents who use video marketing. Listings with video receive 403% more inquiries than those without. In competitive markets, video is increasingly expected rather than optional.
Can I use my MLS photos for the video?
Yes. Professional MLS photos are ideal inputs for photo-to-video AI. Use the original high-resolution files from your photographer rather than MLS-compressed versions for the best output quality.
What music should I use in a property video?
Use royalty-free music that matches the property's character. Light acoustic for starter homes, something cinematic for luxury, warm and inviting for family properties. Reel-E's library is pre-analyzed for BPM and downbeats so transitions sync automatically to the rhythm.
How many photos do I need for a good property video?
8-20 photos produce the best results. Fewer than 8 makes the video feel rushed. More than 20 can drag. Focus on hero shots: exterior, living areas, kitchen, primary bedroom, and standout features like pools, views, or architectural details.