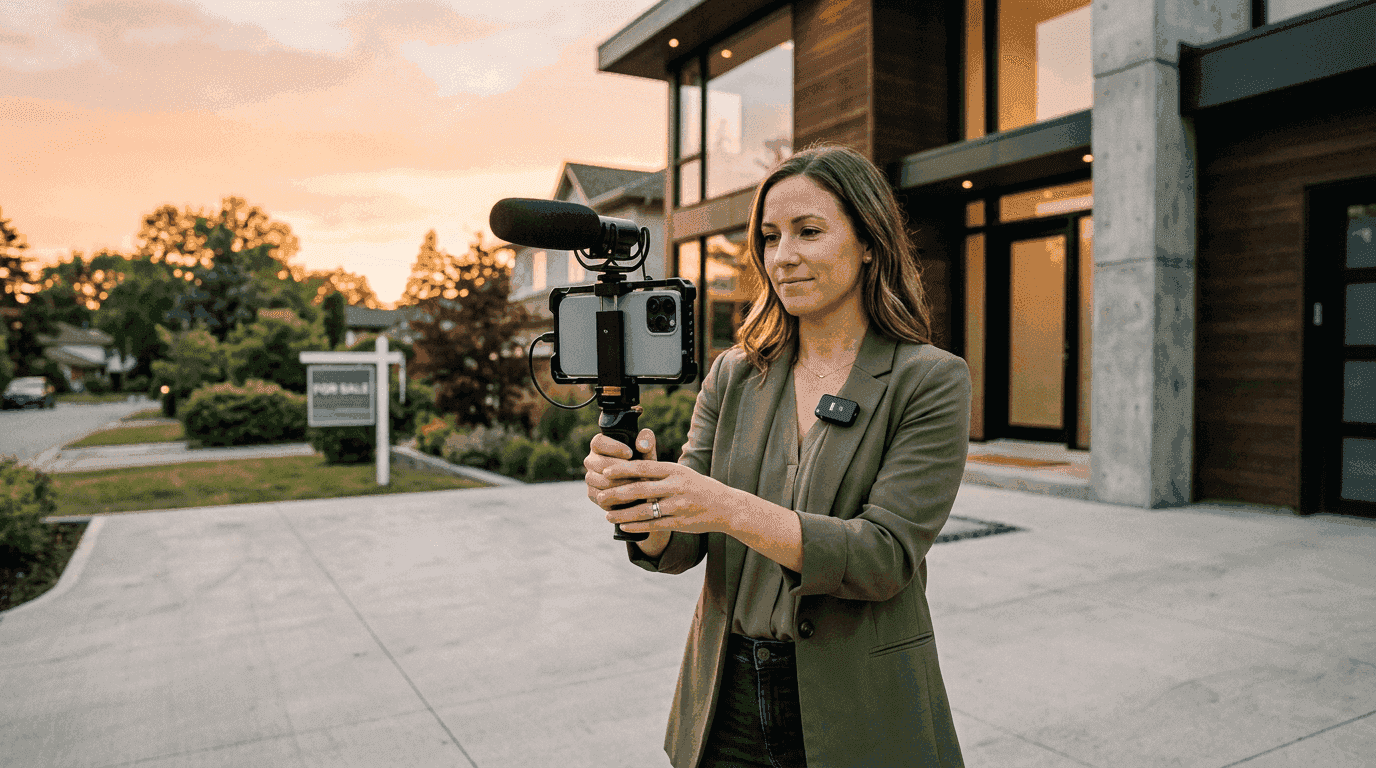
A $327,000 three-bedroom in Tampa sits on the MLS for six weeks with zero showings. The photos are decent. The description is fine. Nothing wrong with it, except that the listing two streets over (similar price, similar specs) sold in nine days. The difference? A 45-second video that made buyers feel like they were walking through the front door.
Making a real estate video from photos is no longer a nice-to-have. It is the minimum standard for agents who want their listings to move. According to the National Association of Realtors, listings with video receive 403% more inquiries than those without. And yet, fewer than 10% of agents use video consistently. That gap is your opportunity.
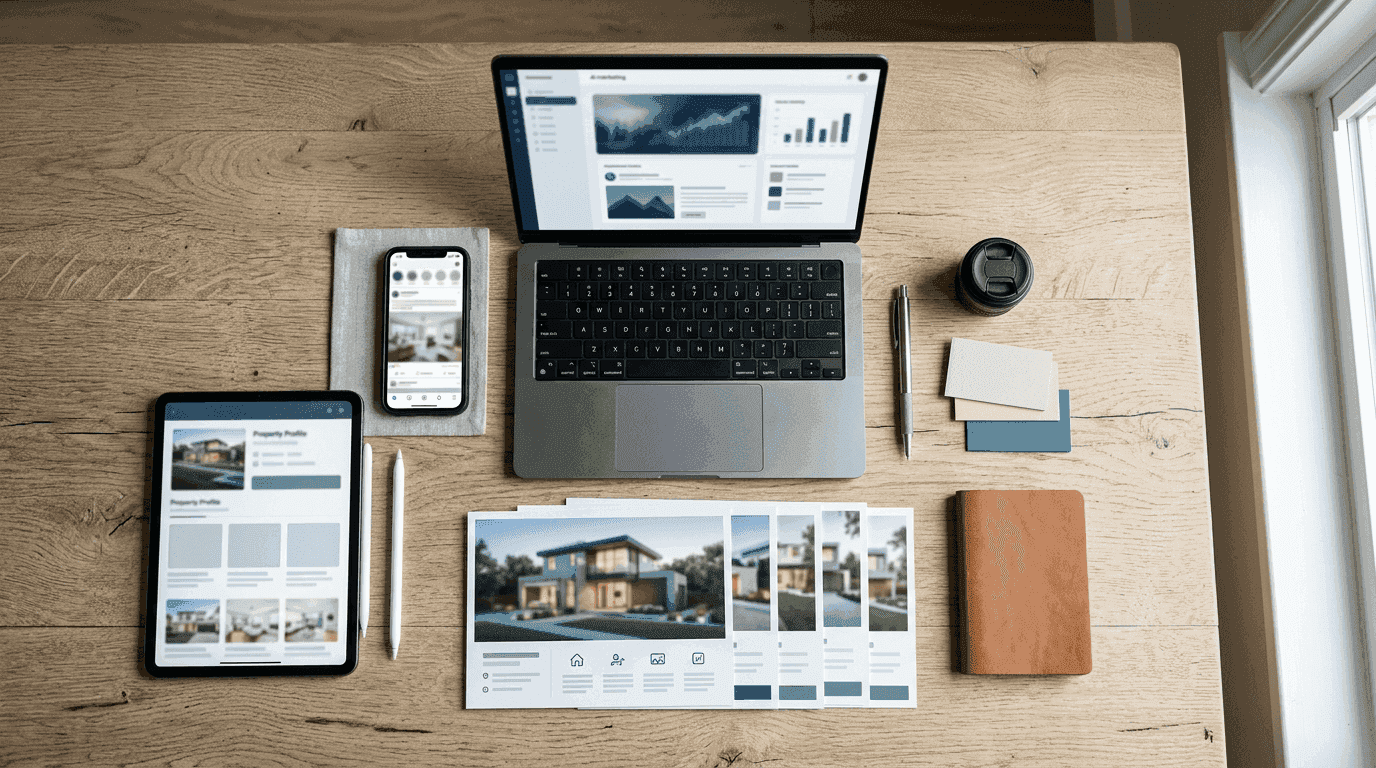
This guide covers four methods to make a real estate video from your listing photos, from free slideshow apps to AI-powered cinematic motion. No videographer required. No editing experience needed. Just your photos and about 10 minutes.
Why Photos-to-Video Is Replacing Videographers for Most Listings
Hiring a videographer for every listing made sense when the average commission check was $15,000 and you closed four homes a month. For the 87% of agents who close fewer than six deals a year (NAR 2024 data), spending $500 to $1,200 per listing video just does not pencil out.
Here is how the math breaks down:
| Method | Cost Per Listing | Turnaround | Quality Level |
|---|---|---|---|
| Professional videographer | $500 to $1,200 | 3 to 7 days | Highest (custom footage) |
| Drone add-on to photoshoot | $150 to $400 extra | 1 to 3 days | High (aerial only) |
| AI video from photos | $4 to $16 | Under 2 minutes | High (cinematic motion) |
| Free slideshow app | $0 | 10 to 20 minutes | Low to medium (static slides) |
The bottom line: if you are listing a $4.8M waterfront estate in Malibu, hire a videographer with a drone, a gimbal, and a shot list. For everything else (which is 95% of the market), photo-to-video tools give you 80% of the quality at 1% of the cost. That is not an exaggeration. At $44 per month for unlimited listings on Reel-E's Essential plan, your per-listing cost drops below $5 if you produce just 10 videos a month.
And it is not just about cost. Speed matters. A listing that goes live with video on day one gets 73% more views in the first 48 hours compared to adding video later (Zillow internal data, 2025). With a videographer, you are waiting three to seven days. With AI, you have four video variants ready before you finish writing the listing description.
4 Methods to Turn Listing Photos Into Video
Not all photo-to-video approaches are created equal. Here is an honest breakdown of each method, including when to use it and when to skip it.
Method 1: Free Slideshow Apps (Canva, Google Photos, iMovie)
The entry-level option. Upload your photos, pick a transition style (dissolve, slide, zoom), add a music track, and export. Canva makes this dead simple with templates designed for real estate. Google Photos can auto-generate a "movie" from an album in about 30 seconds.
Best for: Agents on a zero budget who need something (anything) to post on social media. Also good for personal property tours or open house invitations where production quality is less critical.
Limitations: The output looks like a slideshow because it is a slideshow. There is no camera movement within photos, no depth, no parallax. Your photos just dissolve into each other. Buyers can tell the difference, and so can the algorithm. Instagram's internal data shows that slideshow-style content gets 40% less reach than videos with actual motion.
Method 2: Template-Based Editors (Animoto, FlexClip, Promo.com)
A step up from pure slideshows. These tools offer real estate-specific templates with text overlays, branded intros/outros, and basic Ken Burns zoom effects (slow zoom in or out on each photo). Animoto has been the go-to for years, and their real estate templates are genuinely well-designed.
Best for: Agents who want branded videos with text overlays (address, price, bed/bath count) and do not mind spending 15 to 20 minutes per video in a drag-and-drop editor.
Limitations: Ken Burns zoom is better than static slides, but it still looks like a photo with a zoom effect. The camera "motion" is artificial and predictable. Every photo gets the same slow push-in or pull-out. After watching two of these, buyers start scrolling past. For a deeper comparison, check our Reel-E vs Animoto breakdown.
Method 3: AI-Powered Motion (Reel-E, PhotoAIVideo)
This is where things get genuinely interesting. AI motion tools analyze each photo's depth, geometry, and composition, then generate realistic camera paths that make still images look like they were captured with a gimbal or drone. It is not a zoom effect. It is synthesized 3D camera movement: orbits, push-throughs, lateral slides, and pull-outs that follow the natural lines of the architecture.
Best for: Agents who want professional-looking listing videos without hiring a videographer or learning video editing. The entire process takes under two minutes from upload to finished video.
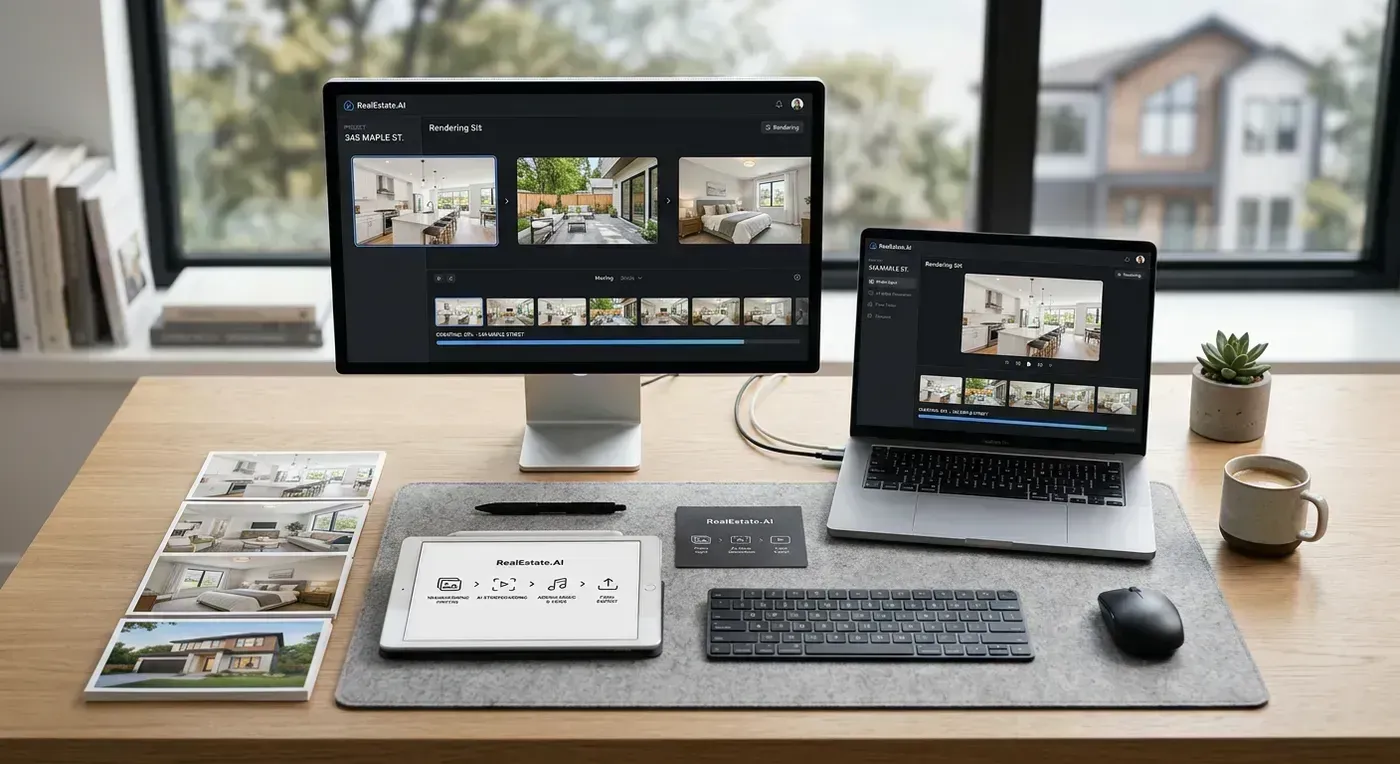
How it works with Reel-E specifically:
- Upload 10 to 20 listing photos
- Choose a music track from the licensed library (or upload your own)
- Add your branding (logo, contact info, colors)
- Click create. AI generates camera motion for each photo, syncs transitions to the music's downbeats, and renders four variants automatically: horizontal branded, horizontal unbranded, vertical branded, vertical unbranded.
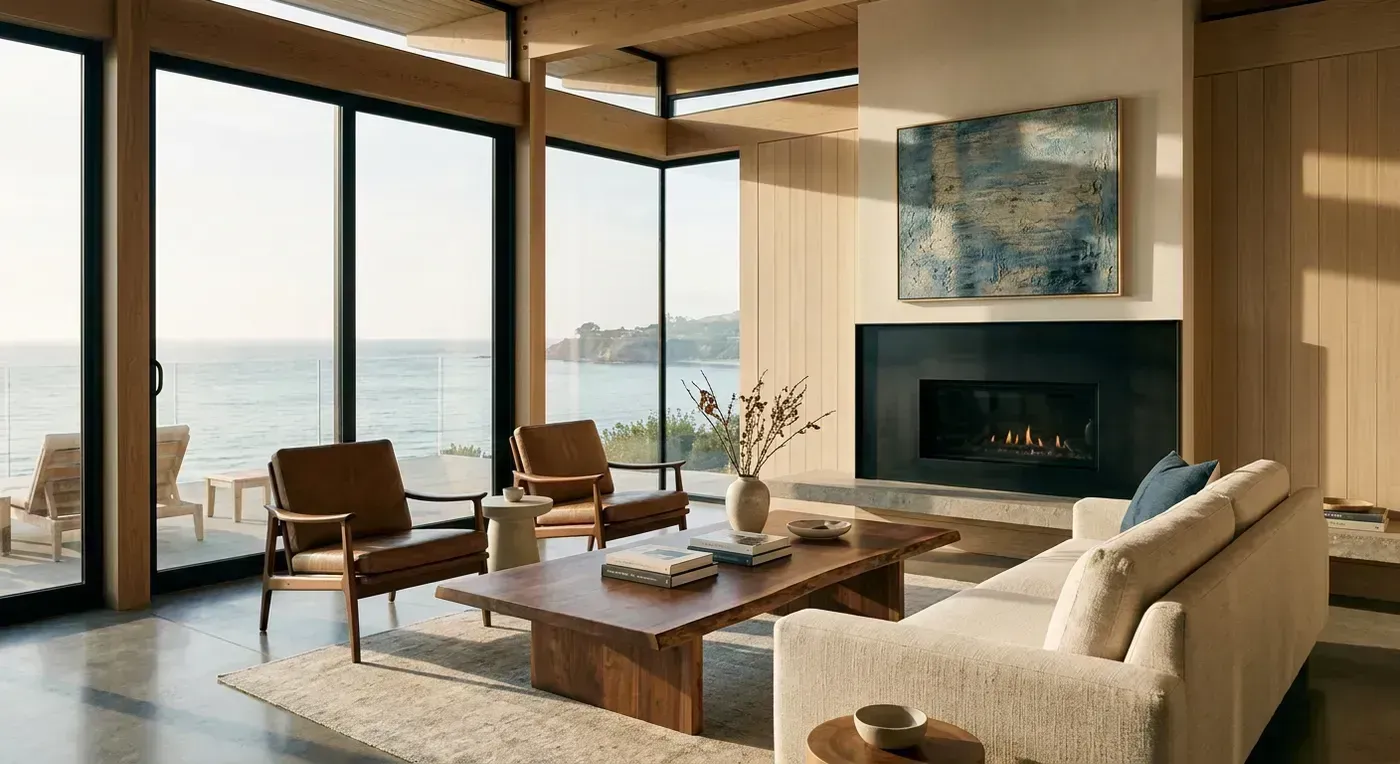
The result looks like this:
Full disclosure: I built Reel-E, so take my enthusiasm with the appropriate grain of salt. But the output speaks for itself. Every clip in that video started as a still photograph. For a complete walkthrough of how our AI stack works, see How Reel-E Works.
Method 4: Hiring a Videographer
Still the gold standard for luxury properties, new construction, and listings where the marketing budget matches the commission check. A good real estate videographer brings their own equipment (gimbal, drone, lighting), plans shot sequences, and delivers edited footage that tells a story no AI can replicate yet.
Best for: Properties over $1.5M, custom/architectural homes, agents who need drone footage (AI cannot generate aerial views from interior photos), and listings where the seller expects premium marketing.
Limitations: Cost ($500 to $1,200 per property), turnaround (3 to 7 days), and scalability (you cannot afford this for every listing). Also, videographer quality varies wildly. A mediocre videographer will produce worse results than a good AI tool.
Step-by-Step: Making a Real Estate Video with AI
Let's walk through the actual process using AI-powered photo-to-video. This applies to Reel-E specifically, but the general workflow is similar across AI tools.
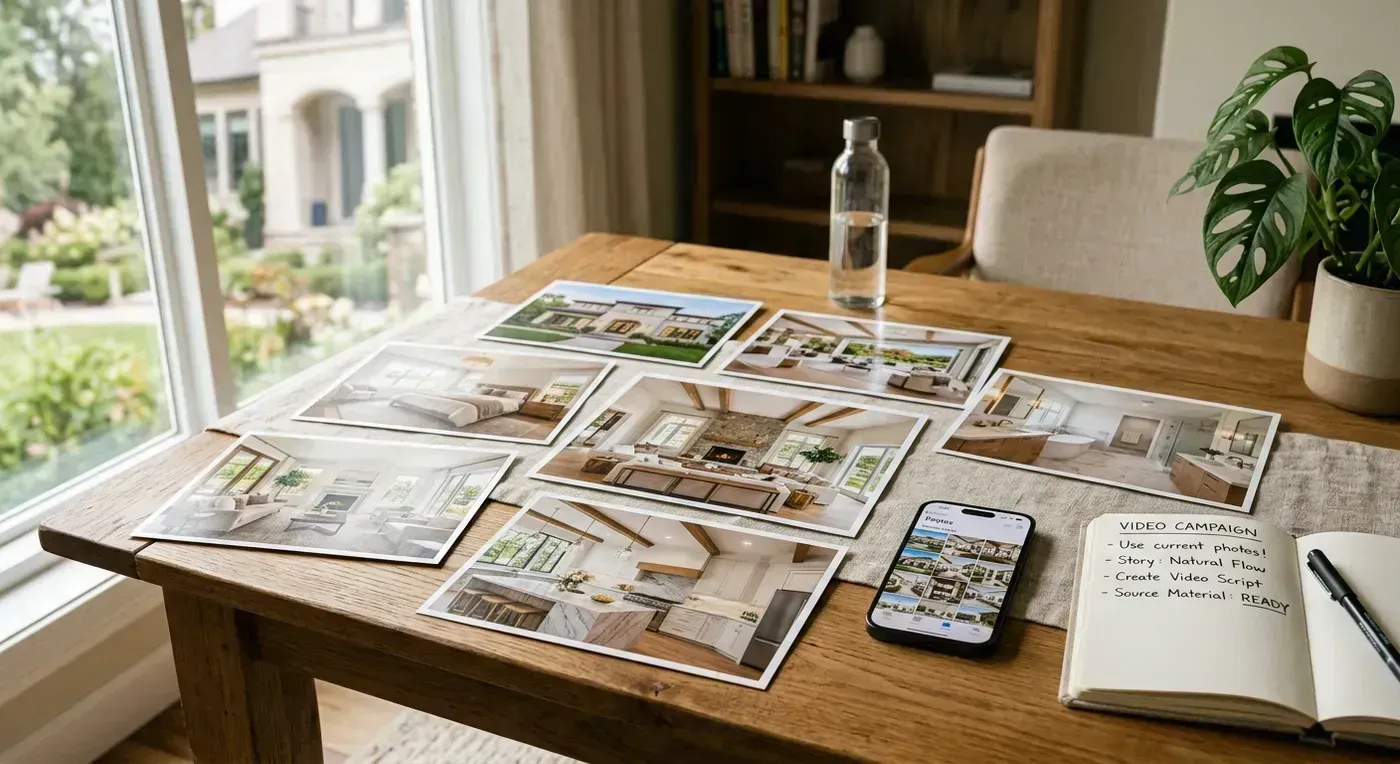
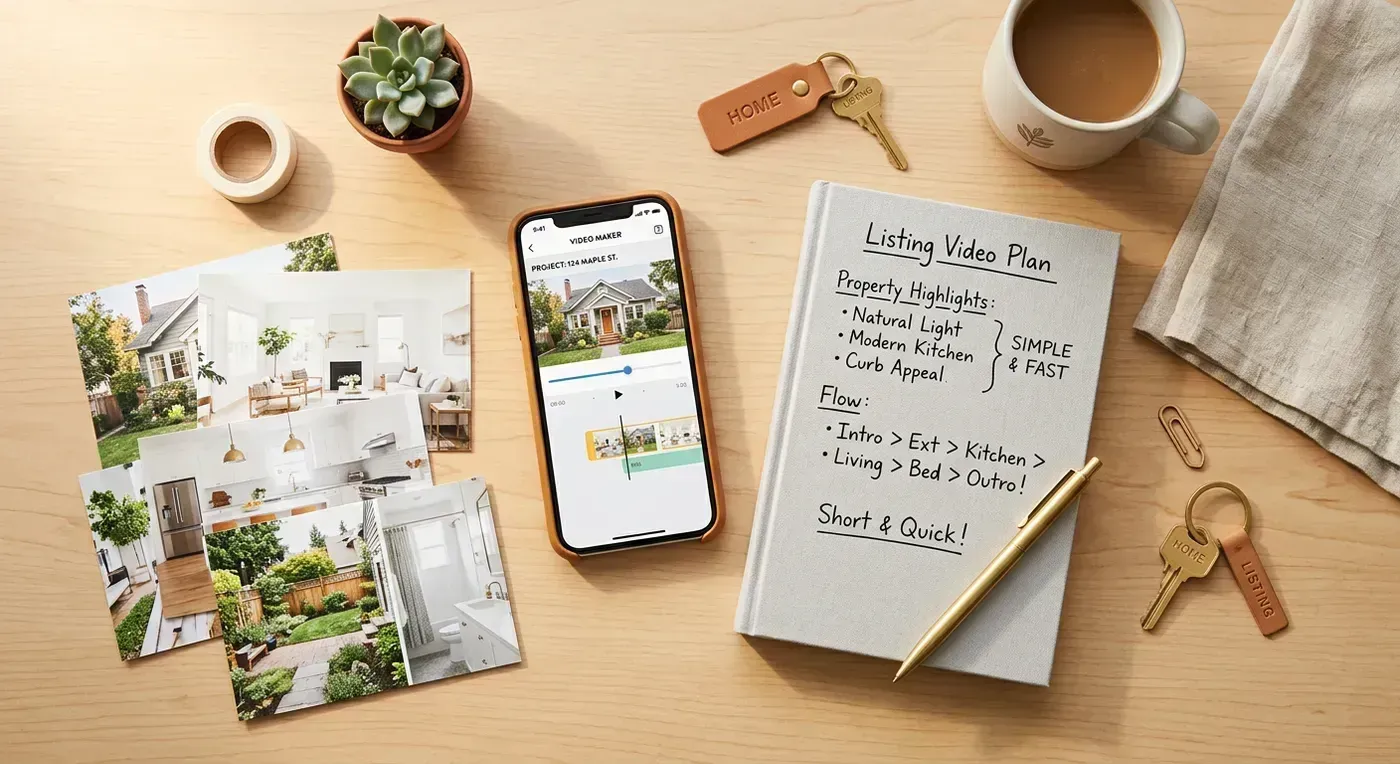
Step 1: Select Your Photos (2 minutes)
Choose 10 to 20 photos that tell the story of the home. Order matters. Follow this sequence:
- Exterior front (the "first impression" shot)
- Entry/foyer (bring the viewer inside)
- Main living space (the room buyers spend the most time imagining themselves in)
- Kitchen (the most photographed room in real estate for a reason)
- Dining area
- Primary bedroom
- Primary bathroom
- Secondary bedrooms (one or two, not all four)
- Bonus spaces (home office, media room, gym)
- Backyard/outdoor living
- Lifestyle shot (pool, view, neighborhood context)
- Exterior back or aerial (closing shot)
Pro tip from listing hundreds of videos: skip the laundry room, the garage interior (unless it is a 4-car garage that is part of the selling point), and any room where the staging is weak. Every photo you include should make the buyer think "I want to live there." If a photo does not pass that test, cut it.
Step 2: Choose Music (30 seconds)
The music sets the emotional tone. For a $450,000 modern farmhouse, a warm acoustic track works. For a $2.1M downtown penthouse, something more polished and contemporary fits the vibe. Reel-E's library includes pre-analyzed tracks where every downbeat is mapped, so the AI can sync photo transitions to the beat. This is the difference between a video that feels intentional and one that feels random.
If you are using a different tool, pick a track that is 30 to 60 seconds long (matching your target video length) and does not have vocals. Vocals compete with the visual storytelling and can feel jarring in property tours.
Step 3: Add Branding (1 minute)
Upload your logo, set your brand colors, and add a contact card with your name, phone, email, and brokerage. This appears as an overlay at the end of the video. Some agents skip this step. Do not skip this step. Unbranded video is a missed opportunity. When that video gets shared on Instagram, forwarded in a text, or embedded in an email, your name and face should be right there.
Step 4: Generate and Download (Under 2 minutes)
Hit create and wait. With Reel-E, you get four variants automatically:
- Horizontal branded (16:9) for MLS, Zillow, YouTube, website embedding
- Horizontal unbranded (16:9) for co-marketing with the seller or brokerage
- Vertical branded (9:16) for Instagram Reels, TikTok, YouTube Shorts
- Vertical unbranded (9:16) for seller social posts
That is four pieces of content from one set of photos in one click. No re-editing, no re-exporting, no cropping in CapCut. See our social media video specs guide for the exact format requirements on every major platform.
Photo Quality Checklist: What Works and What Doesn't
Garbage in, garbage out. AI motion tools are only as good as the photos you feed them. Here is what to aim for and what to avoid.
Photos That Produce Great Video
- Resolution: 1920x1080 minimum, 4000x3000 or higher is ideal. Most professional real estate photographers deliver at least 4K resolution.
- Lighting: Well-lit rooms with balanced exposure. HDR photography (where the photographer brackets multiple exposures) works perfectly.
- Composition: Wide-angle shots from corners of rooms showing two or three walls. The camera should be level (no tilting up or down).
- Staging: Clean, decluttered, staged. Virtual staging photos also work well with AI motion.
- Variety: Mix of wide establishing shots and medium detail shots. Do not use all ultra-wide or all close-ups.
Photos That Produce Bad Video
- Low resolution: Anything under 1024x768 will look pixelated when the AI adds camera motion (the virtual camera needs to pan within the image, requiring extra pixels around the edges).
- Bad lighting: Dark rooms with blown-out windows. The AI's motion looks uncanny when the lighting is wrong.
- Agent in mirror: Check every bathroom photo. If you are visible in the mirror, that photo needs to go.
- Personal items: Family photos, religious symbols, political signs. These should be removed before photographing (standard staging advice).
- Extreme wide-angle distortion: Some photographers use ultra-wide lenses that bend doorways and stretch rooms. Moderate wide-angle is fine. Fisheye is not.
If you are working with older MLS photos that do not meet these standards, our real estate photography guide covers how to reshoot effectively. Better photos mean better videos.
Formatting Your Video for Every Platform
You made the video. Now what? Each platform has different requirements, and uploading the wrong format means your video either gets rejected, cropped badly, or displayed with black bars that make it look amateurish.
| Platform | Best Format | Max Length | Resolution | Notes |
|---|---|---|---|---|
| MLS (varies) | 16:9 horizontal | 5 min (typical) | 1080p | Some MLS require YouTube link, not direct upload |
| Zillow | 16:9 horizontal | 10 min | 1080p | Upload via listing edit page. MP4 only. |
| Realtor.com | 16:9 horizontal | 5 min | 1080p | YouTube link integration |
| Instagram Reels | 9:16 vertical | 90 seconds | 1080x1920 | First 3 seconds determine engagement. Hook fast. |
| TikTok | 9:16 vertical | 10 min | 1080x1920 | 15 to 30 seconds performs best for listings |
| YouTube | 16:9 horizontal | 15+ min | 1080p or 4K | Add chapters, description with keywords, tags |
| 16:9 or 1:1 | 240 min | 1080p | Square (1:1) gets more feed real estate |
This is exactly why getting multiple format variants in one render is so valuable. Reformatting a horizontal video into vertical in CapCut or Premiere Pro takes 10 to 15 minutes (you need to reframe, adjust text positions, and re-export). Tools that output both formats automatically, like Reel-E's four-variant system, eliminate that completely. For detailed specs on every platform, see our MLS video requirements guide.
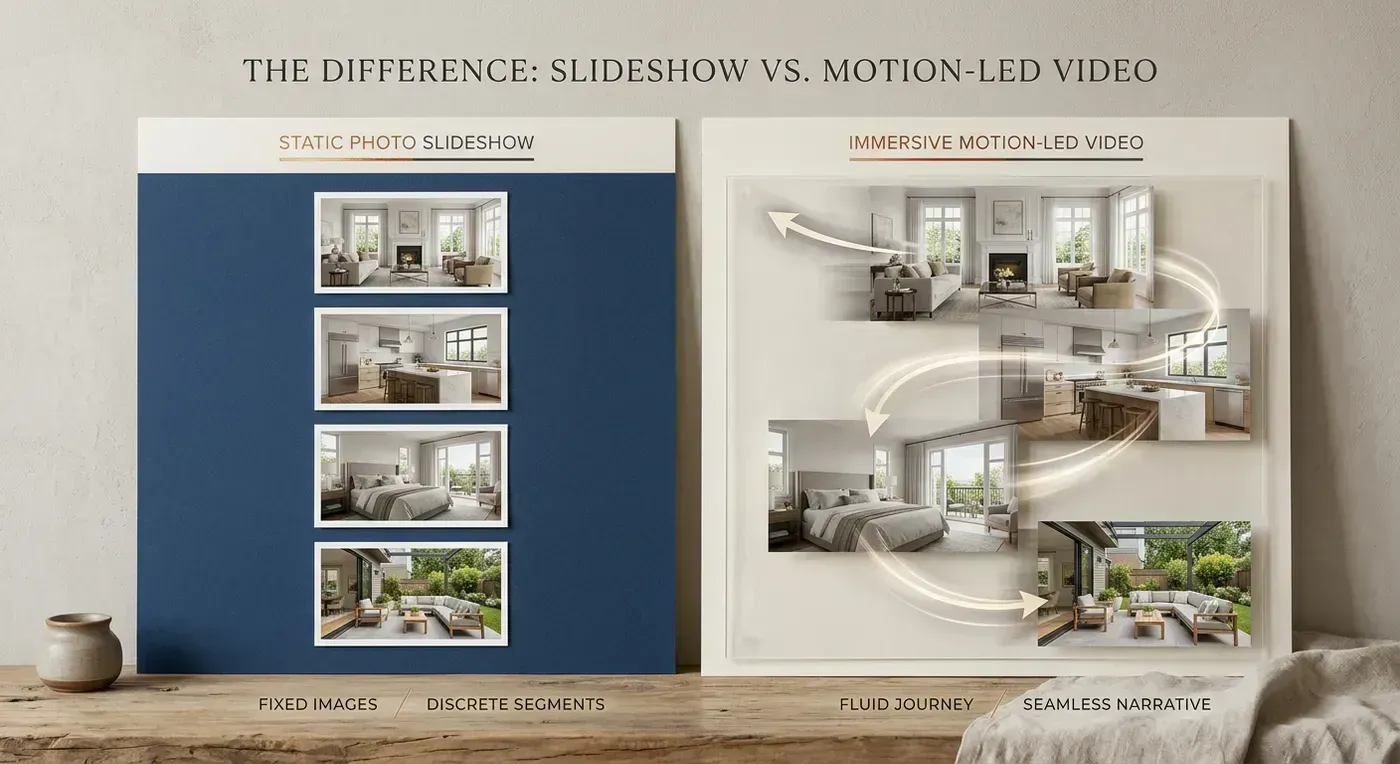
Before and After: What AI Motion Looks Like
The easiest way to understand the difference between a slideshow and AI-generated video is to see it. Here is what happens when you take professional listing photos and process them through an AI motion tool vs. a basic slideshow maker:
Slideshow (Basic Photo-to-Video)
- Photos dissolve or slide into each other
- Optional slow zoom (Ken Burns effect)
- No depth perception or 3D movement
- Every transition feels the same
- Viewers watch for 5 to 10 seconds on average before scrolling
AI Motion (Advanced Photo-to-Video)
- Virtual camera orbits, pushes, pulls, and slides through the space
- Depth estimation creates parallax (foreground moves faster than background)
- Each photo gets a unique camera path based on its composition
- Transitions sync to music downbeats for a polished, cinematic feel
- Viewers watch for 25 to 45 seconds on average (3x to 4x longer engagement)
The technology behind this is genuinely remarkable. The AI analyzes each photo to estimate a 3D depth map, then generates a camera trajectory through that estimated space. It is not moving the photo left and right. It is creating the illusion of physical camera movement through a three-dimensional environment. For a detailed technical breakdown, see our AI listing video guide.
The 80/20 Rule for Real Estate Video in 2026
Here is the uncomfortable truth most marketing coaches will not tell you: the difference between no video and any video is massive. The difference between a good video and a great video? Much smaller. An imperfect 30-second video with decent photos and licensed music will outperform a perfectly photographed listing with zero video, every single time.
Do not let perfection stop you from starting. The agent who posts three videos this week (even if they are not cinematic masterpieces) will generate more leads than the agent who spends three weeks planning the perfect video strategy.
Here is my recommendation for most agents:
- For your standard listings ($200K to $800K): Use an AI tool. Upload photos, generate video, post it everywhere. Total time: 5 minutes.
- For your premium listings ($800K to $2M): Use AI for the listing video, but invest 30 minutes in creating a longer YouTube version with your own narration and additional b-roll from your phone.
- For luxury listings ($2M+): Hire a videographer for the hero video, use AI to generate social media clips and teaser content from the photographer's stills.
This tiered approach matches your marketing spend to the commission potential. A $250K listing with a $6,000 gross commission does not need a $1,200 video. A $3.5M listing with a $87,000 gross commission absolutely does.
Getting Started Today
You have the photos. Every one of your listings already has 15 to 30 professional shots sitting in your MLS dashboard, your Google Drive, or your photographer's gallery. Those photos are doing nothing. They could be working for you 24/7 as video content on Instagram, TikTok, YouTube, Zillow, and your website.
The fastest way to make a real estate video from photos right now:
- Pick your best current listing
- Select 12 to 15 of the best photos
- Upload them to Reel-E (free trial, no credit card)
- Choose a music track, add your branding
- Download four video variants in under two minutes
- Post the vertical version to Instagram Reels today
That is it. Six steps. No editing. No learning curve. No waiting for a videographer to respond to your email next Tuesday. The listing that could have been sitting with zero video for another week just got 4x the exposure.
For a detailed walkthrough of every step inside Reel-E, read our listing photos to video tutorial. And if you want to understand why video listings consistently outperform photo-only listings, our data analysis on whether video listings sell faster covers the research.