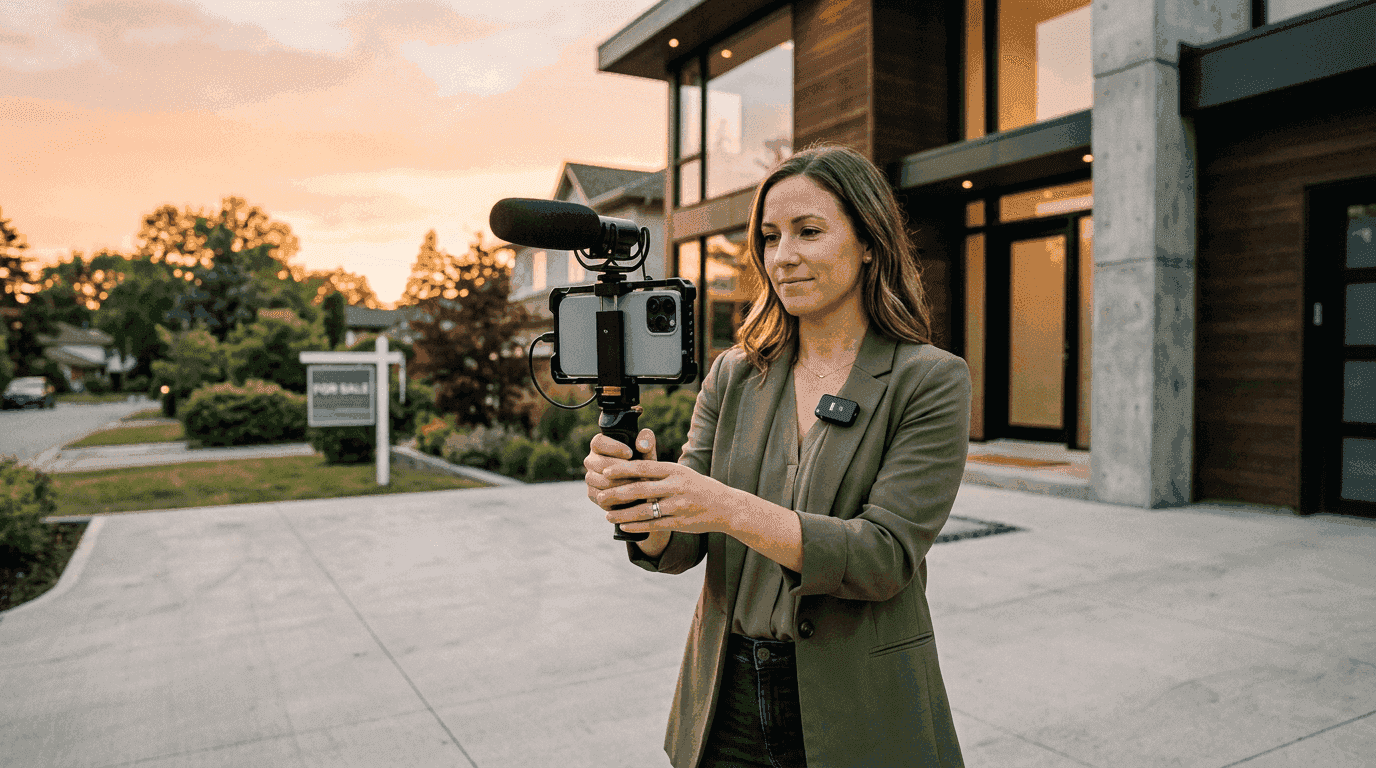
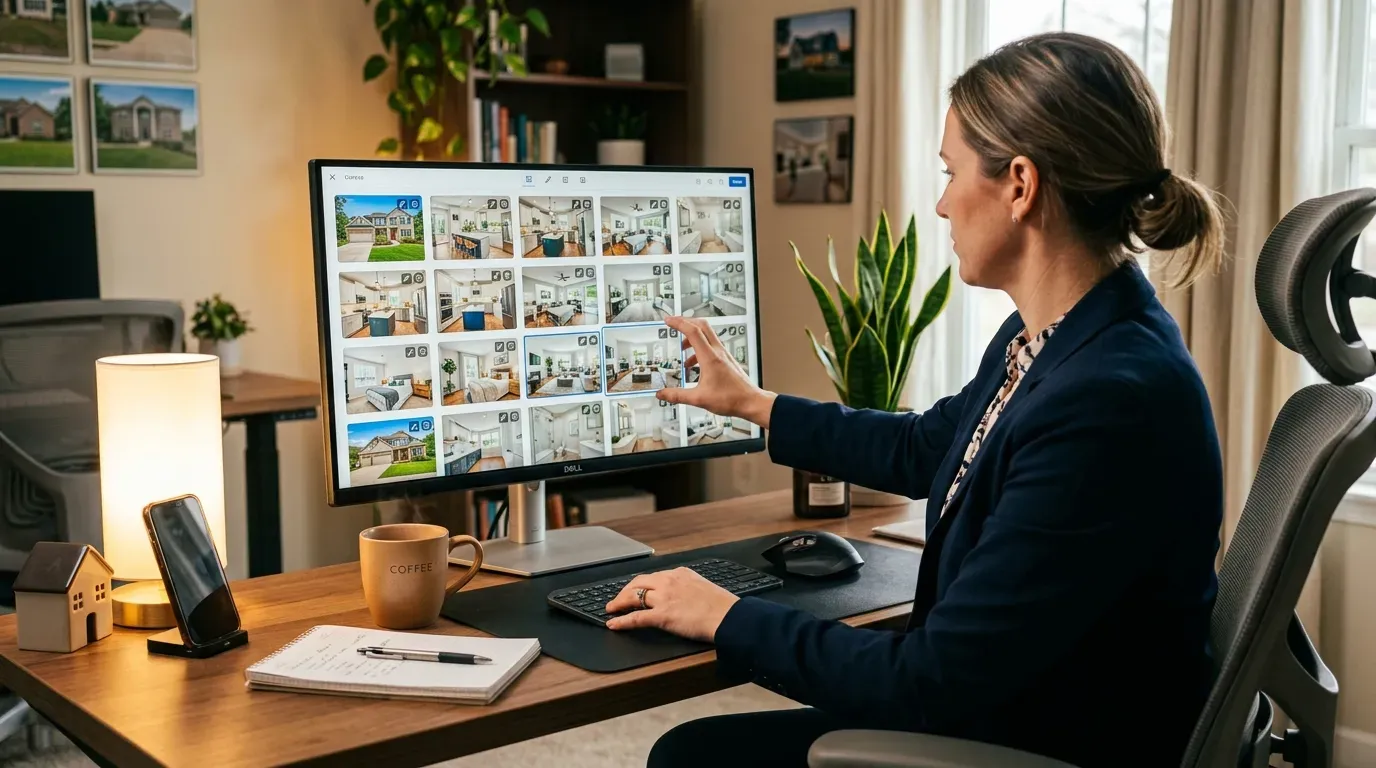
Most agents treat listing photography like a checkbox. Hire a photographer, get 25 photos, upload them to the MLS, move on. The problem is that approach leaves enormous value on the table. The quality of your listing photos determines how many clicks you get, how many showings you book, and increasingly, how good your listing video turns out.
This is not a guide about buying a $4,000 camera. It is a practical, room-by-room real estate photography guide built for agents who want better results from every shoot, whether you are hiring a pro or doing it yourself with a phone. We will cover camera settings, composition, lighting, exteriors, twilight, drone basics, and the part nobody talks about: how to shoot photos that also work beautifully when converted into AI-generated video.
Why Listing Photography Still Matters More Than Anything Else
NAR's 2025 Profile of Home Buyers found that 100% of buyers used the internet during their home search and that photos were the single most useful feature on listing websites. Not the description. Not the virtual tour. The photos. That has been true for over a decade and it is not changing.
What has changed is that your listing photos now do triple duty. They show up on the MLS and syndicated portals. They fuel your social content. And with tools like Reel-E, they become the raw material for cinematic listing videos that used to require a separate $500+ video shoot. A well-composed photo set now powers your entire listing marketing package.
The stakes are simple: better photos mean more views, more views mean more showings, and more showings mean faster sales at higher prices. The data backs this up consistently.
Camera Settings That Actually Work for Real Estate
If you are using a DSLR or mirrorless camera, these settings will get you clean, bright images in nearly every property. If you are using a phone, skip to the phone-specific section below. The principles are the same even if the controls are different.
The Core Settings
- Aperture: f/7.1 to f/9. You want everything in the room sharp, from the kitchen island to the window view. Wider apertures (f/2.8, f/4) create shallow depth of field that looks great for portraits but terrible for real estate. Your buyer needs to see the whole room.
- ISO: 100 to 400. Keep it as low as your lighting allows. Higher ISO introduces grain, and grain shows up badly in both prints and video conversions. ISO 100 on a tripod with natural light is the sweet spot.
- Shutter speed: 1/60 to 1/2 second. On a tripod, you can go slow. That is the whole point of the tripod. A 1/4 second exposure at ISO 100 and f/8 will give you a dramatically cleaner image than handheld at ISO 3200.
- White balance: Auto or Daylight. For most properties, auto white balance does a reasonable job. If you have mixed lighting (daylight from windows plus warm tungsten bulbs), set white balance to daylight and fix the warm cast in post. Consistent white balance across the set matters more than perfection on any single frame.
- File format: RAW + JPEG. Shoot RAW if you plan to edit. Shoot RAW+JPEG if you want a quick set for same-day upload and a RAW set for careful editing later.
Lens Choice
A 16-35mm zoom on full frame (or 10-18mm on APS-C) is the standard real estate lens. Shoot most rooms at 16-20mm to capture the full space. Do not go wider than 14mm unless the room genuinely demands it because extreme wide angles distort furniture and make rooms look cartoonish. The goal is accurate but flattering, not a fish-eye funhouse.
For detail shots (countertops, fixtures, built-in shelving), zoom in to 35-50mm. These tight shots add variety to your gallery and, critically, they give AI video tools more interesting source material for close-up motion effects.
Phone Photography Settings
If you are shooting on an iPhone 15 Pro or later, or a Samsung Galaxy S24 Ultra, the wide camera (0.5x on iPhone, ultra-wide on Samsung) at 12-13mm equivalent gives you a respectable field of view. A few rules:
- Shoot in the native camera app with HDR on. HDR blends multiple exposures so you get detail in both the bright windows and the darker interior.
- Tap to focus on the room, not the window. If the window is blown out, that is often fine. A dark room with a perfectly exposed window is useless.
- Use a phone tripod or lean the phone against a wall for stability. Even small hand movements at 0.5x create blur.
- Shoot in the highest resolution available. HEIC is fine for storage, but export to JPEG at maximum quality before uploading to any platform.
Composition Rules That Make Rooms Look Their Best
Camera settings get you a sharp, well-exposed image. Composition is what makes that image sell the property. Here are the rules that professional real estate photographers follow on every shoot.
The Two-Wall Rule
In most rooms, position yourself in a corner or doorway so that two walls are visible. This creates natural depth and gives the viewer a sense of the room's actual dimensions. A single flat wall reads like a hallway, even in a spacious room. Two walls plus a floor line create a sense of volume.
Shoot From Chest Height
Lower your tripod to chest height (roughly 4 to 4.5 feet). This is approximately the eye level of a seated person, which makes rooms feel larger and more inviting than shooting from standing height. Standing height tilts the camera down, compressing the floor and making ceilings look lower. Chest height keeps vertical lines straight and shows more floor, which is exactly what buyers want to see.
Leading Lines and Depth
Look for natural lines that draw the eye into the photo: a hallway, a countertop edge, a row of windows. Position yourself so these lines move from the foreground into the background. This is not artsy framing for its own sake. Leading lines create depth, and depth is what makes a flat photo feel like a walkable space.
This matters even more if your photos will be used for AI video generation. Depth gives the motion algorithm something to work with. A flat, head-on shot of a wall produces a boring video frame no matter how advanced the AI is. A shot with clear foreground, midground, and background elements gives the AI material for dramatic push-in or orbit effects.
Keep Verticals Vertical
Walls, door frames, and windows should be straight vertical lines in your photos. Tilted verticals make a property look unstable (literally). If your camera or phone has a grid overlay, use it. If not, most editing software can correct minor lean in post. But getting it right in-camera saves time and produces a cleaner result.
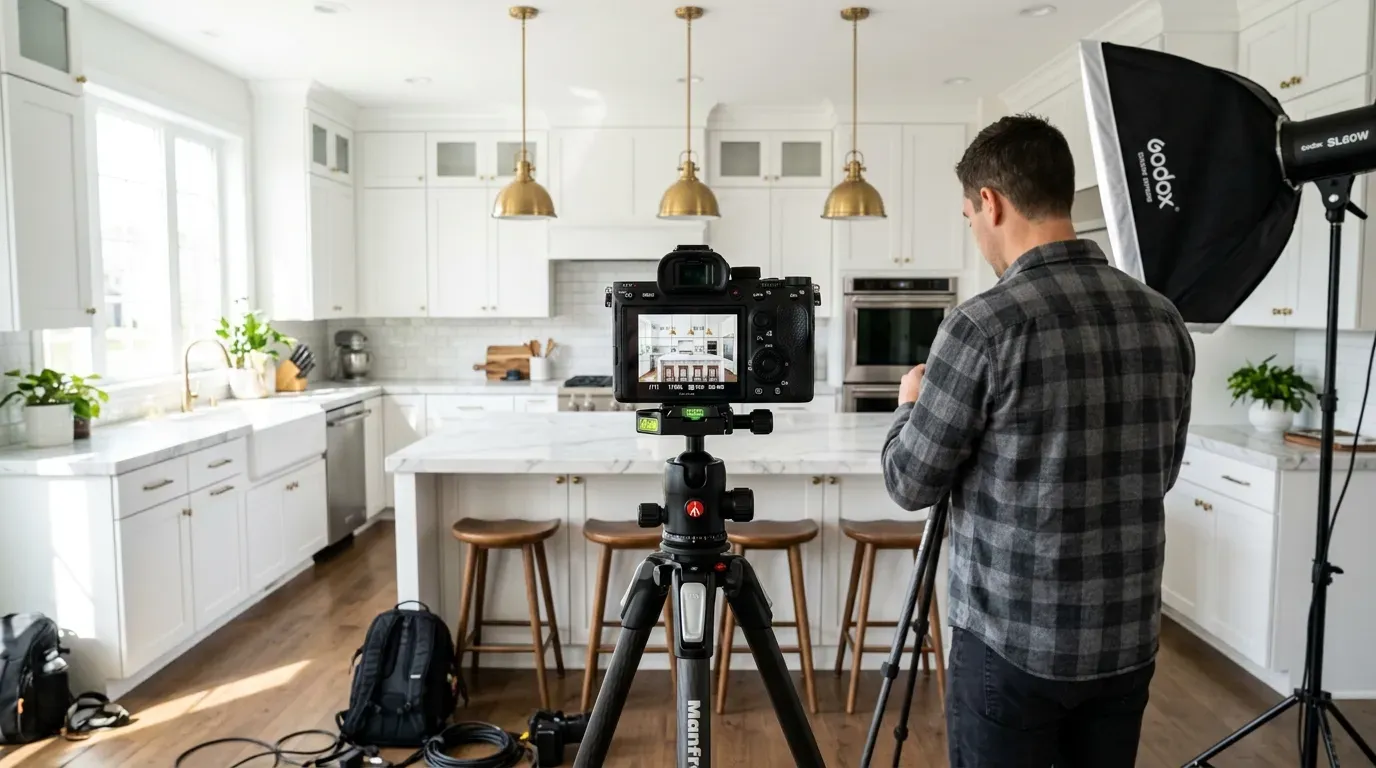
Lighting: The Difference Between Amateur and Professional
Lighting is where amateur real estate photos fall apart. A room that looks beautiful in person can look like a cave in a photo. Understanding how to manage light is the single biggest upgrade you can make to your property photography.
Natural Light First
Open every blind, curtain, and shade before you start shooting. Turn on every light in the house. The goal is maximum ambient light as a starting point. Natural light from windows is the most flattering light source for interiors because it is directional, soft, and reveals textures.
Shoot during the best natural light window: 9 a.m. to 11 a.m. for east-facing rooms, 1 p.m. to 3 p.m. for west-facing rooms, or overcast days for even light in every direction. Avoid midday direct sun, which creates harsh shadows and blown-out hot spots on floors and countertops.
Flash Technique for Interiors
Bounce flash is the professional standard for real estate interiors. Aim your external flash at the ceiling or a white wall behind you (never directly at the room). The bounced light fills shadows without creating the flat, deer-in-headlights look of direct flash. A single speedlight bounced off a white ceiling at 1/4 power is usually enough for most rooms.
For rooms with tall or dark ceilings where bounce flash is not practical, use a diffused on-camera flash at low power combined with a longer exposure to pick up ambient window light. This technique, called dragging the shutter, blends flash fill with natural light for a more realistic result.
HDR Bracketing
HDR (High Dynamic Range) bracketing is the most popular technique among real estate photographers. Shoot three to five exposures of the same composition: one correctly exposed, one or two darker (for window detail), and one or two brighter (for shadow detail). Merge them in Lightroom or Photomatix. The result is a single image where both the bright windows and the dark interior have full detail.
A word of caution: HDR done badly looks worse than no HDR at all. Overcooked HDR produces halos around windows, unnatural colors, and that unmistakable "radioactive glow" that screams amateur. Keep the processing subtle. The goal is a photo that looks like what your eyes saw, not a special effect.
Room-by-Room Shooting Guide
Every room in a property has a best angle. Here is how to find it for each one.
Living Room / Great Room
Shoot from the main entry or an adjacent hallway to show the full room with natural sightlines. Include at least one window for context. If the room has a fireplace, stage the shot so the fireplace is a focal point on one side, not dead center. Get one wide establishing shot and one tighter shot highlighting the best feature (built-in bookshelves, a statement light fixture, the view).
Kitchen
The kitchen usually gets the most attention from buyers, so give it the most photos: 3 to 5 images minimum. Shoot the main establishing shot from the dining area or an opening that shows the island, countertops, and appliances in one frame. Get a detail shot of the countertops and backsplash, a shot showing the full appliance wall, and one looking from the kitchen back toward the living space to show the open floor plan. Clean every surface. Remove the dish rack, sponge, paper towels, and magnets. An empty kitchen photographs 10x better.
Primary Bedroom
Shoot from the doorway at chest height. Include the bed, at least one nightstand, and ideally a window. If the room has an en-suite bathroom, include the bathroom door in the shot to hint at the full suite. For staging, make the bed with neutral bedding and keep nightstands minimal. The goal is "hotel room clean."
Bathrooms
Bathrooms are tight. Use the widest lens you have and shoot from the doorway. Turn on all the lights and add a warm-toned lamp if the vanity lighting is harsh. For a primary bath with a freestanding tub or large shower, get a shot that shows the full layout. For secondary baths, one clean shot is enough. Always put the toilet lid down.
Dining Room
Shoot from the opposite end of the table, including the full table and at least two walls. If the dining room connects to the kitchen, include that connection in one shot to show the flow. A detail shot of a well-set table (even minimally staged with plates and a centerpiece) adds warmth.
Home Office / Bonus Rooms
One or two shots. Show the room's purpose clearly: a desk with a chair for an office, a couch and TV for a media room. Buyers need to visualize the use, not just the square footage.
Exterior and Curb Appeal Photography
The exterior is usually the first photo in your gallery and the first thing a buyer sees in search results. It carries enormous weight.
Front Exterior
Shoot from the street or sidewalk, straight on, at a slight angle that shows depth along the front facade. Include the full front of the house from roofline to landscaping. Shoot at chest height or slightly lower for a subtle upward perspective that makes the house look grand. Avoid parking your car (or anyone else's) in the driveway. A clean driveway and manicured lawn are non-negotiable.
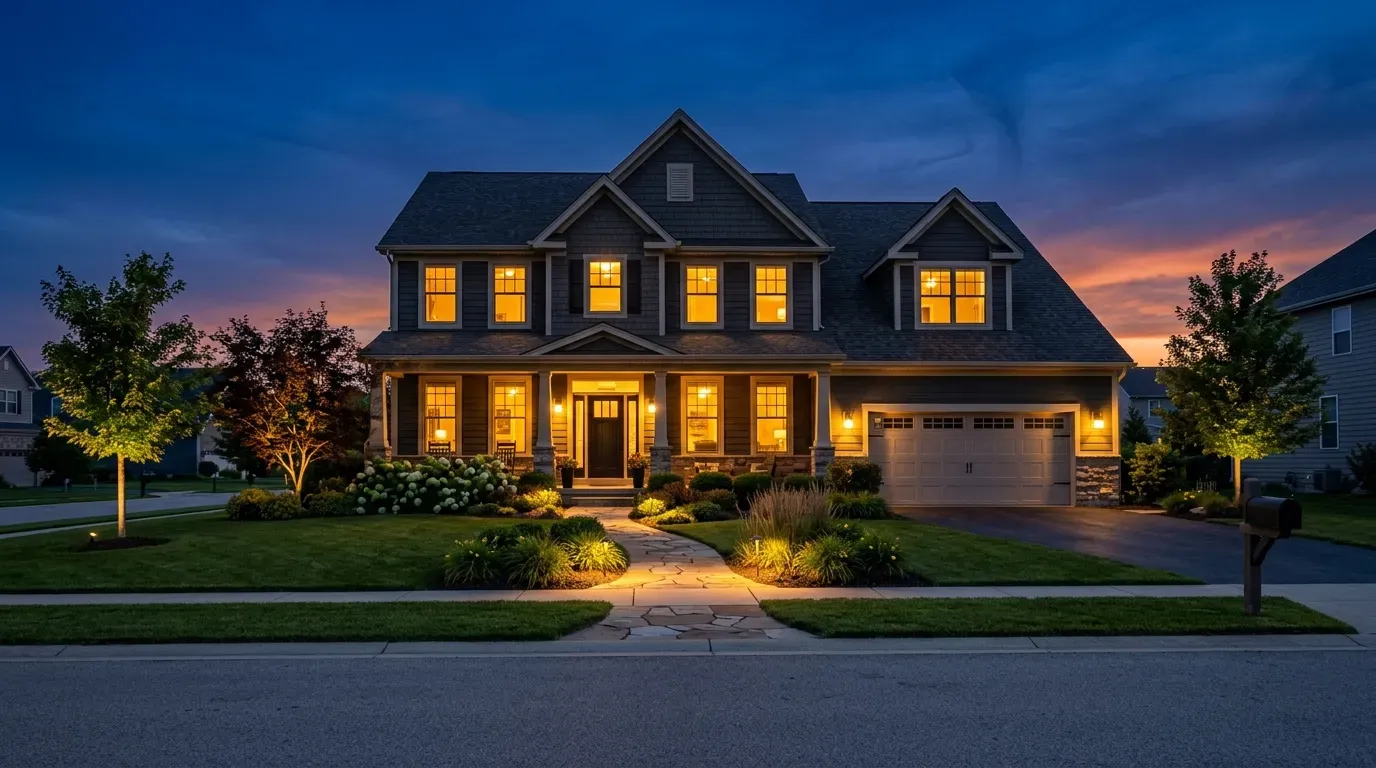
Twilight Photography
Twilight photos are the highest-performing exterior shots in real estate. The combination of a deep blue sky, warm interior light glowing through windows, and landscape lighting creates an emotional response that daytime exteriors simply cannot match.
Here is the workflow: arrive 15 to 20 minutes before sunset. Turn on every interior light. Turn on all exterior and landscape lighting. As the sky transitions from orange to deep blue (this window lasts about 20 minutes), shoot brackets for HDR. The ideal moment is when the sky is dark enough to show contrast against the lit windows but still has color, not black.
Twilight photos also create exceptional source material for AI listing video. The dramatic lighting and color contrast give motion algorithms strong visual anchors for cinematic push-in effects.
Backyard and Outdoor Living
Shoot the backyard from the house looking out, showing the patio, pool, or landscaping as the primary subject. Then get a reverse shot from the far end of the yard looking back at the house. If there is a pool, shoot from the corner that shows the longest dimension. Drone photos of the backyard (covered below) are a strong complement here.
Drone Photography Basics
Drone shots add a dimension that ground-level photography cannot replicate. Even one or two well-composed aerial photos can transform a listing gallery.
What You Need
A DJI Mini 4 Pro ($760) is the most popular drone for real estate photography. It is under 249 grams (no FAA registration required for recreational use), shoots 48MP stills, and has obstacle avoidance. For commercial use, you need an FAA Part 107 Remote Pilot Certificate.
Best Drone Shots for Listings
- Straight-down overhead: Shows the full property lot, pool shape, and yard layout. The best "property overview" shot.
- 45-degree angle from the front: The elevated version of your street-level exterior. Shows the roof, driveway, front yard, and neighborhood context in one frame.
- Neighborhood context: Pull back and up to show proximity to parks, water, schools, or downtown. This shot sells the location, not just the house.
- Low flyover of the backyard: 15 to 20 feet up, tilted slightly forward. Shows scale and depth of outdoor living spaces.
Common Drone Mistakes
Flying too high is the biggest one. At 200+ feet, the property becomes a tiny rectangle and the shot loses all emotional connection. Most of the best real estate drone photos are taken between 30 and 80 feet. Also, do not shoot at noon. The same harsh-shadow problem that plagues ground-level photography is worse from above. Fly in the golden hour or on overcast days.
How to Shoot Photos That Work for AI Video
This is the section that separates a 2024 photography guide from a 2026 one. Your listing photos are no longer just static images. They are the input for AI-powered listing videos. And the quality of that input directly determines the quality of the output.
After processing over 47,000 listings through Reel-E, we have learned exactly which photo characteristics produce the best video results. Here is what matters.
Wide Angles With Depth Win
Photos with clear foreground, midground, and background elements create the most compelling video motion. A kitchen shot that includes the island (foreground), the countertops (midground), and the window view (background) gives the AI three layers to animate. A flat shot of a wall gives it nothing. Shoot with depth in mind for every room.
Varied Compositions Are Critical
A set of 20 photos that are all shot from the same angle at the same focal length produces a repetitive, boring video. Mix your shot types: wide establishing shots, medium shots from interesting angles, and tight detail shots. This variety gives the video a natural rhythm with different motion effects on each frame.
Good Lighting Produces Cleaner Motion
Noisy, underexposed photos produce noisy, artifact-heavy video frames. The AI can create cinematic motion from a well-lit photo, but it cannot fix bad exposure. Shoot bright, clean, properly exposed images and the video output improves dramatically.
Resolution Matters
Upload the highest resolution files you have. For Reel-E, we recommend at least 2000px on the long edge, and higher is better. The motion algorithms need pixel data to work with when creating push-in, orbit, and Ken Burns effects. Low-resolution images (under 1200px) will work but the output quality ceiling is lower.
Preparing Your Photos for Reel-E
Once your shoot is done and your edits are finished, here is how to prepare your photo set for the best possible AI video output.
Optimal Photo Count
For most properties, 15 to 25 photos produces the best video. Fewer than 10 creates a video that feels rushed. More than 30 makes the video drag. The sweet spot for a standard three-bedroom listing is 18 to 22 photos. For a luxury property with extensive grounds, 25 to 35 is appropriate.
Photo Sequencing
Arrange your photos in the order a buyer would naturally walk through the property:
- Exterior front (curb appeal hero shot)
- Entry / foyer
- Living room or great room
- Kitchen (2 to 3 shots)
- Dining room
- Primary bedroom
- Primary bathroom
- Secondary bedrooms (1 each)
- Additional rooms (office, media room)
- Backyard / outdoor living
- Aerial / drone shot (if available)
- Twilight exterior (strong closer)
This sequence creates a narrative arc in the video: approach the house, walk through the main living spaces, explore the private quarters, then end with the outdoor spaces and a dramatic closing shot. Reel-E preserves your photo order, so the sequence you upload is the story the video tells.
Resolution and File Format
Upload JPEG files at the highest quality your camera or editing software exports. Reel-E accepts JPEG, PNG, and WebP. For best results:
- Minimum 2000px on the long edge (3000px+ preferred)
- JPEG quality 90% or higher
- sRGB color space (the web standard)
- No heavy watermarks or text overlays (these will appear in the video)
What to Leave Out
Do not include duplicate angles of the same room. Do not include a photo of the neighborhood street unless it is genuinely impressive. Skip the garage unless it is finished or notably large. Every photo in the set should earn its place in the video.
Post-Processing Best Practices
Editing is where good photos become great photos. But real estate editing has different goals than portrait or landscape photography. The goal is accurate but flattering.
Essential Edits
- Exposure correction: Bring the overall brightness up to match what your eyes saw in person. Rooms should look bright and inviting, not moody.
- White balance: Correct any color casts. Kitchens with warm overhead lights and cool window light need careful balancing. When in doubt, err toward neutral or slightly warm.
- Lens correction: Apply your lens profile in Lightroom or Camera Raw to fix distortion and vignetting. This is especially important for wide-angle shots where barrel distortion bows straight lines.
- Vertical straightening: Make walls vertical. Use the "Upright" tool in Lightroom or the perspective tool in Photoshop. This single edit makes photos look dramatically more professional.
- Window pull: If you shot brackets, blend the window exposure to show the outdoor view. If you shot single exposures, selectively darken the windows to recover some detail. Buyers want to see what is outside those windows.
Edits to Avoid
- Excessive HDR: If the photo has halos around windows or looks like a video game, dial it back.
- Sky replacement: Adding a dramatic sunset sky to a daytime exterior is dishonest and increasingly easy for buyers to spot.
- Removing structural elements: Power lines in the view are fine to remove. Removing a neighbor's house or a utility pole that will be visible in person is misleading.
- Over-saturating colors: Grass should look green, not radioactive. Countertops should look like their actual material, not like polished obsidian.
The standard is simple: a buyer who walks into the property should recognize every room from the photos. If they would be surprised or disappointed, the editing went too far.
Building a Listing Photography Checklist
Here is the shot list we recommend for a standard listing. Print this out and bring it to every shoot.
| Shot | Count | Notes |
|---|---|---|
| Front exterior | 2 | Straight-on plus angled. Include landscaping. |
| Entry / foyer | 1 | From inside looking back toward the door. |
| Living room | 2-3 | Wide + detail. Show windows and depth. |
| Kitchen | 3-5 | Establishing, island detail, appliance wall, open-plan view. |
| Dining room | 1-2 | Full table, connection to kitchen. |
| Primary bedroom | 2 | Wide + en-suite connection. |
| Primary bathroom | 1-2 | Full layout, detail of finishes. |
| Secondary bedrooms | 1 each | One clean wide shot per room. |
| Bonus rooms | 1 each | Office, media room, gym. |
| Backyard / patio | 2-3 | From house + from yard. Pool if applicable. |
| Drone aerials | 2-3 | Overhead, 45-degree, neighborhood context. |
| Twilight exterior | 2-3 | Front + back if applicable. |
Total for a typical 3-bedroom home: 20 to 30 photos. That gives you a strong MLS gallery, plenty of social content, and an excellent set for creating your listing video.
Common Real Estate Photography Mistakes
After a decade of building a real estate media company and reviewing tens of thousands of listing photo sets, these are the mistakes I see most often.
- Shooting handheld. Use a tripod. Full stop. Handheld photos at wide angles in dim interiors produce blur and grain that no editing can fix. A $30 tripod improves your results more than a $3,000 camera body.
- Forgetting to clean. The camera sees everything. Fingerprints on stainless steel, toothbrushes on the counter, shoes by the door, pet bowls. Spend 15 minutes pre-shoot decluttering every room. It is the highest-ROI 15 minutes in real estate marketing.
- Shooting at noon on a sunny day. Harsh shadows, blown-out windows, squinting-bright floors. Schedule your shoot for morning, late afternoon, or overcast days. Your photos (and your video) will thank you.
- Including too many photos of the same room. Three angles of the living room is plenty. Seven is overkill and dilutes your gallery. Edit ruthlessly.
- Ignoring the exterior. The front exterior is often the thumbnail in search results. If it is dark, crooked, or includes your car in the driveway, you are losing clicks before the buyer ever sees the interior.
- Leaving lights off. Every light on. Every time. Even in rooms with great natural light. The additional warmth from artificial light fills shadows and makes rooms feel lived-in and welcoming.
- Vertical phone photos. Most MLS platforms display horizontal images. Vertical photos display with huge black bars on the sides and look unprofessional. Rotate your phone to landscape for every shot.
From Photos to Full Listing Marketing Package
The real power of great listing photography shows up when you use those photos across your entire marketing workflow, not just the MLS.
With Reel-E, the same 20 photos from your listing shoot become four video variants in under two minutes: horizontal branded, horizontal unbranded, vertical branded for social, and vertical unbranded for MLS. The AI analyzes each photo's composition and applies the right motion effect: push-ins on rooms with depth, orbits on exteriors, slow Ken Burns zooms on detail shots. The video transitions are synced to the beat of your chosen music track and the whole thing is rendered in up to 4K.
That is the workflow we built Reel-E for. You already have the photos. The video should not require a second shoot, a second budget, or a week of waiting. Try it with your next listing and see how your existing photo set translates into video.
For more on the video side of listing marketing, read our complete AI listing video guide and our breakdown of what real estate video actually costs in 2026.
FAQ
What camera settings are best for real estate photography?
Use aperture f/7.1 to f/9 for full room sharpness, ISO 100 to 400 for minimal grain, and a tripod-supported shutter speed of 1/60 to 1/2 second. Shoot in RAW+JPEG format with auto or daylight white balance. These settings work for 90% of interior listing situations.
Do I need a professional camera for listing photos?
Not necessarily. An iPhone 15 Pro or Samsung Galaxy S24 Ultra with HDR enabled and a phone tripod can produce usable listing photos. A dedicated camera with a wide-angle lens on a tripod will produce better results, but the phone is a viable starting point for agents building their skills.
How many photos should I take per listing?
Shoot 40 to 60 photos per property, then edit down to the best 20 to 30 for your final gallery. For a standard 3-bedroom home, 20 to 25 published photos is the sweet spot for MLS, social content, and video generation.
What is the best time of day for real estate photography?
Interior shoots work best between 9 a.m. and 11 a.m. or on overcast days. Exterior and twilight shots should be scheduled for 15 to 30 minutes around sunset. Avoid midday direct sun, which creates harsh shadows and blown-out highlights.
How do I shoot photos that look good as AI video?
Focus on three things: depth (foreground, midground, background in every shot), variety (mix wide, medium, and detail shots), and clean exposure (bright, low-noise images). These characteristics give AI video tools the best source material for creating cinematic motion effects.
What resolution should my listing photos be?
At minimum, 2000px on the long edge. For AI video generation and 4K output, 3000px or higher is preferred. Always export at JPEG quality 90% or above in sRGB color space.
Should I use HDR for real estate photos?
Yes, HDR bracketing is the industry standard for balancing bright windows with darker interiors. Shoot 3 to 5 brackets and merge in Lightroom or Photomatix. Keep the processing subtle to avoid the over-processed "radioactive" look that makes photos look artificial.
How do I take good twilight photos?
Arrive 15 to 20 minutes before sunset. Turn on all interior and exterior lights. Shoot HDR brackets as the sky transitions from orange to deep blue (about a 20-minute window). Use a tripod and remote trigger for sharp results at slow shutter speeds.
What is the best order for listing photos?
Follow the natural walkthrough: exterior, entry, living room, kitchen, dining, primary bedroom, primary bath, secondary rooms, outdoor living, aerials, and twilight exterior as the closer. This sequence creates a narrative arc that works for both photo galleries and video.
Do I need drone photos for every listing?
Not every listing, but drone photos add significant value for properties with notable lot size, outdoor features, or desirable location context. Even one overhead shot and one angled aerial can transform a gallery. For condos or townhomes without notable outdoor space, ground-level exteriors are sufficient.