

Photo Guide
Great videos start with great photos. Follow these tips for stunning results.
Quick Checklist
- Bright, evenly-lit rooms
- Landscape orientation
- Straight vertical lines
- Wide-angle lens (0.5x on iPhone)
- Camera at chest height (~4ft)
- 3-20 photos (free) / 3-40 (subscribers, by plan)
Uploading Photos
Download the authorized photos from your MLS, photographer, or listing source, then add them directly to Reel-E.
Direct Upload
Drag and drop your photos or click to browse your files.
Drop your photos here
or click to browse
Browse FilesJPEG, PNG, or WebP. We'll handle the rest.
Supported: JPG, PNG, WebP • Max 25MB per photo • 3-40 photos, depending on your plan
Image Requirements
| Formats | JPG, PNG, WebP |
|---|---|
| Max File Size | 25MB per photo |
| Resolution | 1920x1080 or higher |
| Photos Per Video | 3-20 (free), 3-20 on Essential, 3-40 on Growth and Pro |
Drop your photos here
or click to browse
Browse FilesJPEG, PNG, or WebP. We'll handle the rest.
Drag and drop photos or click to browse
Shooting Tips
Lighting
- Turn on ALL lights in the room
- Open blinds and curtains
- Shoot during daytime
Camera Position
- Hold camera at chest height (~4ft)
- Keep camera level (don't tilt)
- Stand in corners for wider view
Smartphone Settings
- Use 0.5x (Ultra Wide) for interiors
- Enable grid lines in camera settings
- Tap to focus on the room, not windows
Straight Verticals
- Walls should appear perfectly vertical
- Avoid tilting camera up or down
- Use grid lines to stay level
Pro Tip
Professional MLS photos are ideal, but modern smartphones can capture excellent results when following these tips.
Quality Checklist
Do This
- Clean the camera lens
- Stage the property (clear clutter)
- Shoot in landscape orientation
- Take multiple shots, pick the best
Avoid This
- Blurry or dark images
- Heavy watermarks
- People or pets in frame
- Screenshots or compressed images
Photo Ordering
Arrange photos like a walkthrough: exterior, entry, living spaces, kitchen, bedrooms, outdoor areas. You can also set camera movements on individual photos.
Shots
3 in video · 4 photos
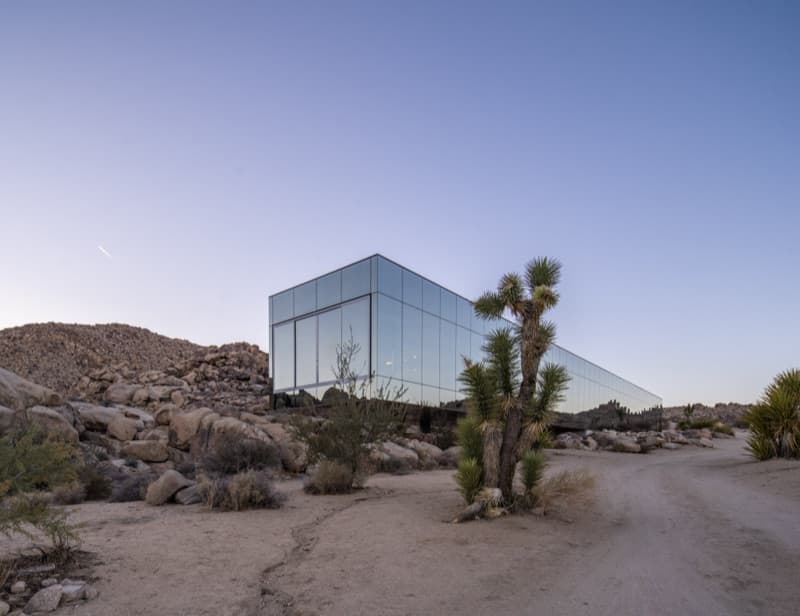 1
1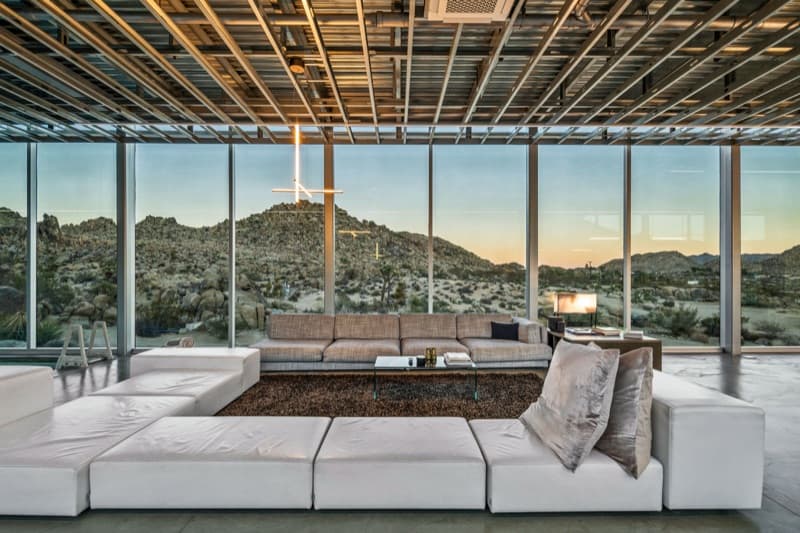 2
2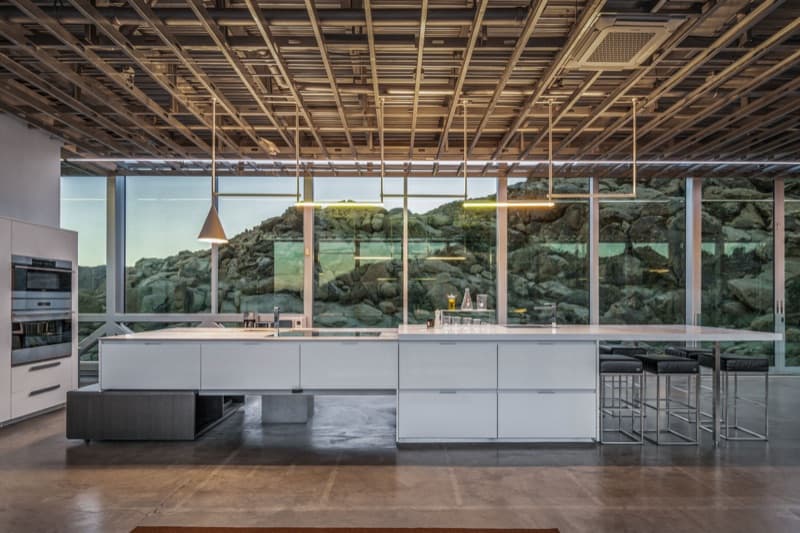 3
3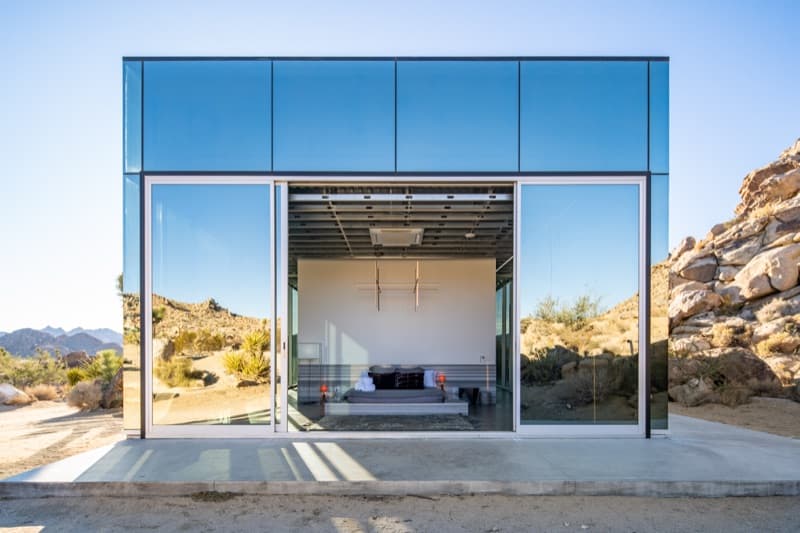 Not in video
Drag to reorder, or let AI photo order arrange them
AI photo order (Recommended)
Leave AI photo order on and Reel-E arranges your photos into a property tour: exterior → living spaces → bedrooms → features → back to exterior.
Camera Movement Selection
Select camera movements on individual photos to customize your video. Tap the wand on a shot to open its panel, then pick a movement.
23Click the wand to open a shot
23Tap the wand to open a shot
Click the wand on a computer, tap it on a phone
1Shots
front.jpg
Photo 1 of 3 · plays at 0:00
Movement
Open a shot and pick its movement
Camera Movements
Choose from Push In, Pull Out, Orbit Left, or Orbit Right. AI automatically applies subtle movements to photos without manual selections.
Video Length
Each photo appears for ~2-2.5 seconds.
| Photos | Length | Best For |
|---|---|---|
| 5-10 | 10-25s | Social media |
| 15-25 | 30-60s | MLS listings |
| 30-40 | 60-100s | Luxury properties |